✨ Hello, dear visitor. Buy products at the best factory prices on our website ✨
✨ Hello, dear visitor. Buy products at the best factory prices on our website ✨
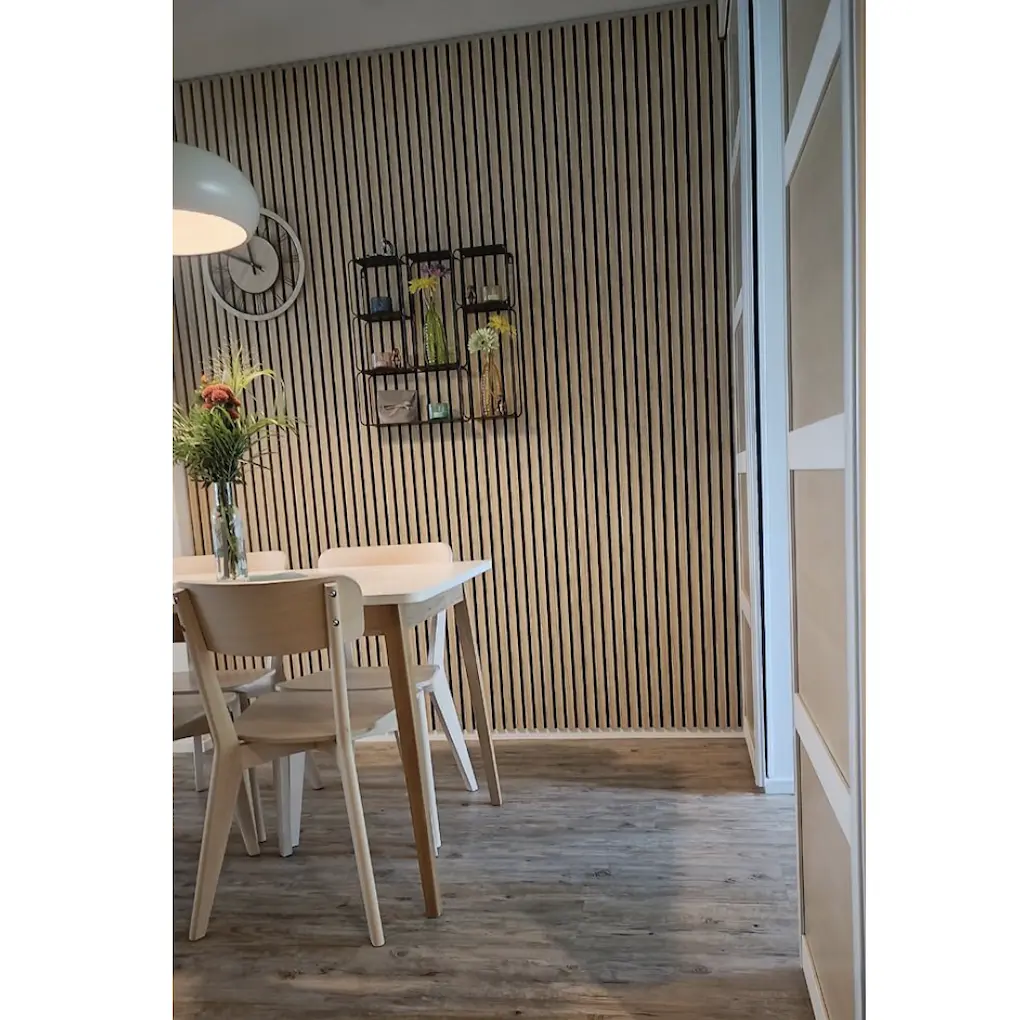
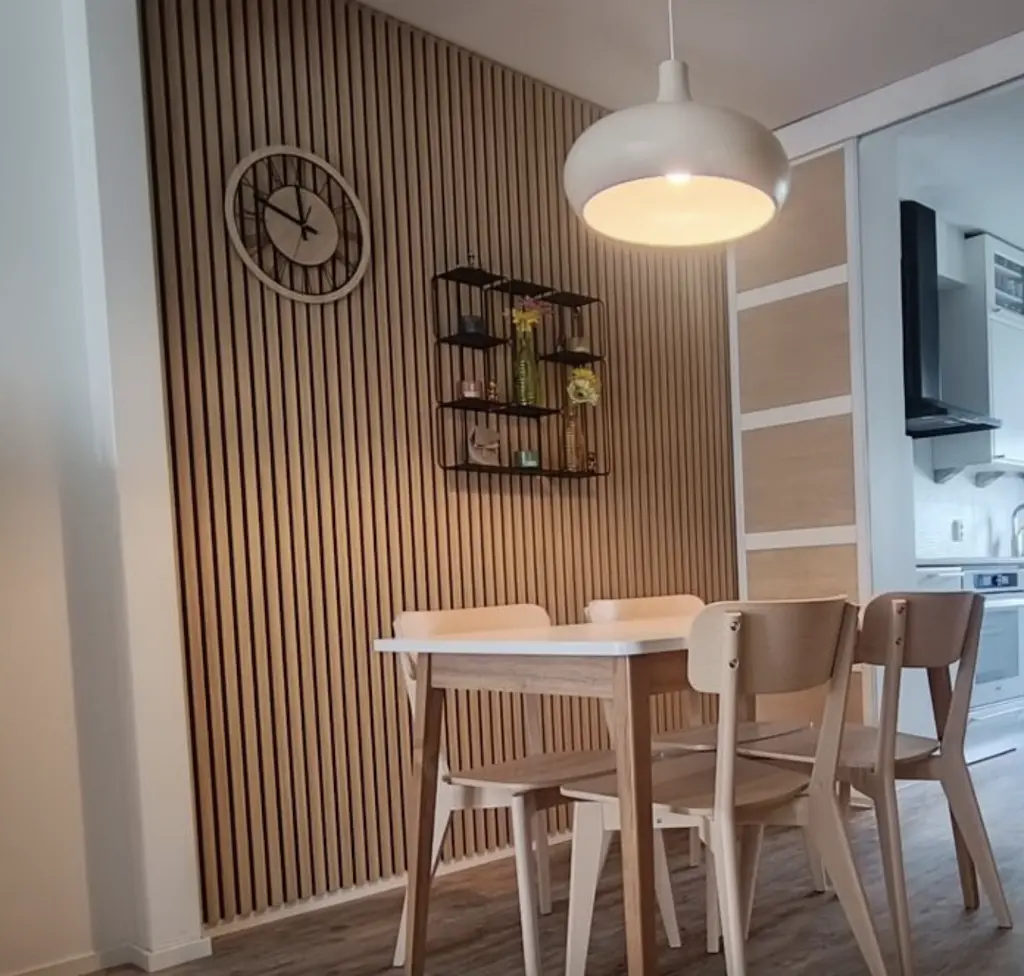
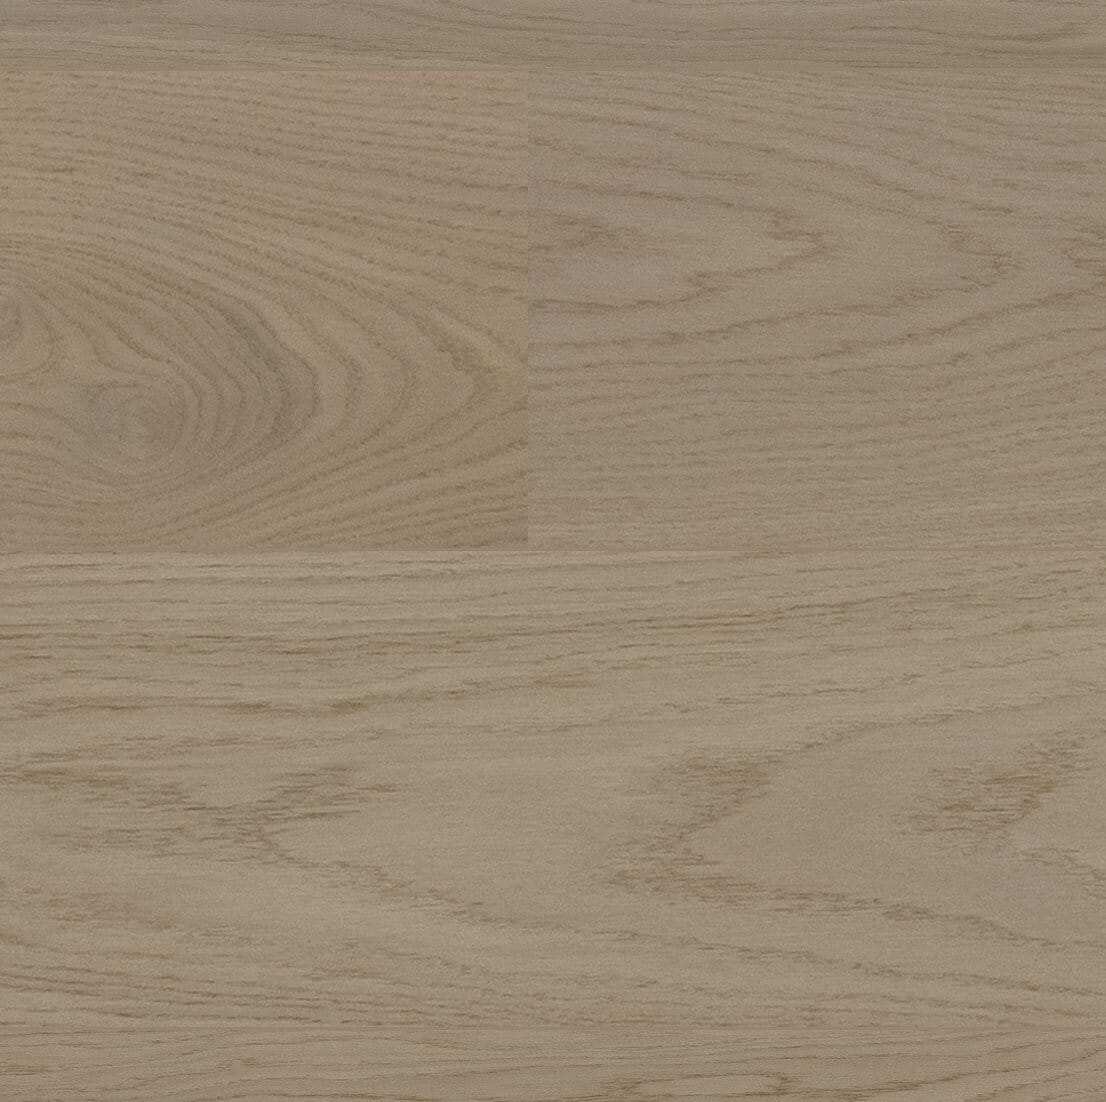
Stylish and cost-effective interior solution
High-profile, stylish acoustic slat panel with a black felt base and a light oak wood-like pattern on top. Can be installed vertically, horizontally, or on the ceiling. The sound-insulating felt base reduces noise and echoes. The MDF slats feature a striking wood grain pattern. The acoustic felt has fire-retardant properties and belongs to fire class B1. It does not contain harmful compounds. Easy and quick to install. When installed directly on the wall, the NRC value is 0.3, sound absorption class D. When mounted on battens, the sound absorption class is A.
 Step 1
Select a product.
Step 1
Select a product.
 Step 2
Add to quote.
Step 2
Add to quote.
 Step 3
Fill the form.
Step 3
Fill the form.
 Step 4
Send a request.
Step 4
Send a request.
 Step 5
Answer within 24 hours.
Step 5
Answer within 24 hours.
Product code: JVWP-A600-TAMU
EAN: 6430049657158
High-profile, stylish acoustic slat panel with a black felt base and a light oak wood-like pattern on top. Can be installed vertically, horizontally, or on the ceiling. The sound-insulating felt base reduces noise and echoes. The MDF slats feature a striking wood grain pattern. The acoustic felt has fire-retardant properties and belongs to fire class B1. It does not contain harmful compounds. Easy and quick to install. When installed directly on the wall, the NRC value is 0.3, sound absorption class D. When mounted on battens, the sound absorption class is A.
Technical information:
Weight: 10.8 kg
Measures: 2440 mm in length, 600 mm in width, and 24 mm in thickness
1 kpl = 600 x 24 x 2440 mm (1,464m2)
EN 13501-1:2018 CLASS B, ASTM E84 CLASS A.
Acoustic wall panels installation
Acoustic panels can be installed directly onto the wall or over a framework. When installed over a framework, the panels achieve sound absorption class A.
Installation can be done using screws or adhesive.
Horizontal or ceiling installation
The installation follows the same principles as vertical installation. When installing horizontally, the direction is always from bottom to top. When installing on the ceiling, it is recommended to use both screws and adhesive.
NOTE: If you have ceiling heating, ensure the product is compatible with the heating system by consulting the heating system provider.
PLATFORM CHARGES AND SMALL DELIVERY SURCHARGE:
EUR PALLET 15 €, FIN PALLET 18.6 €, SINGLE-USE PALLET 9 €, Small delivery supplement (<100 € for purchases) 13.2 €
There are no reviews yet.
No manuals available for this product.
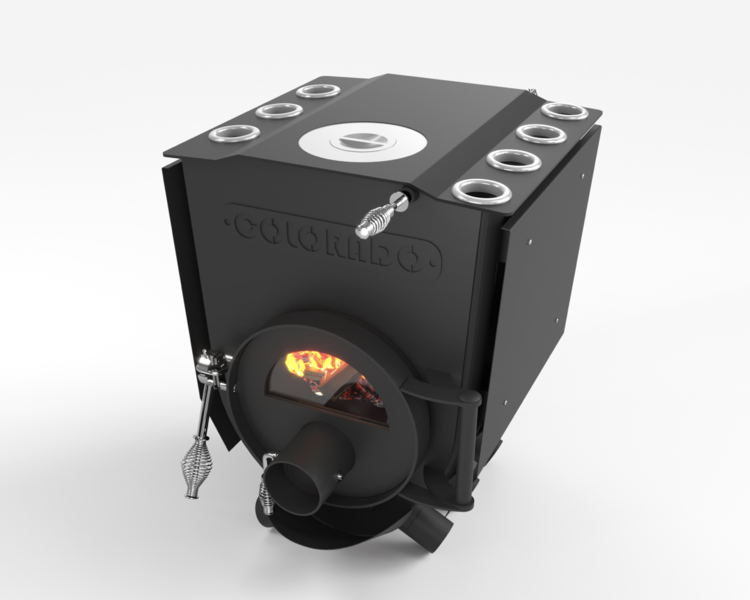
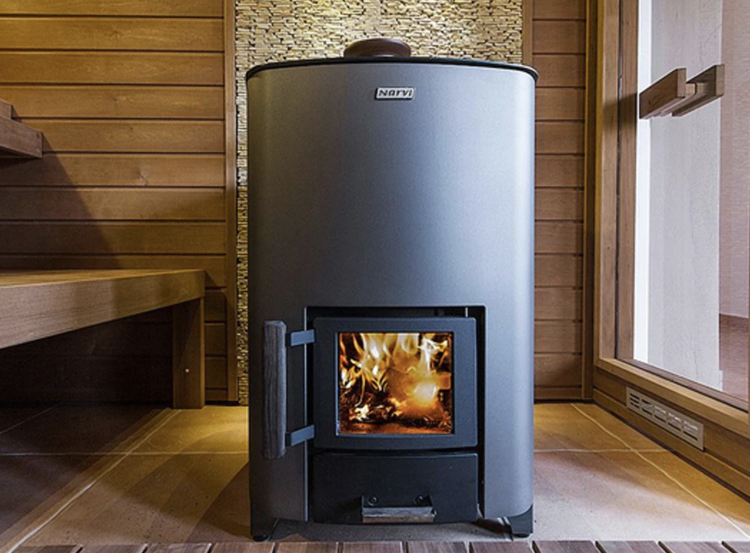
Bulder stove “Colorado 01” with hob and glass door (u...
Bulder stove “Colorado 01R...
 Shop All
  Super Deals
  New
New