✨ Hello, dear visitor. Buy products at the best factory prices on our website ✨
✨ Hello, dear visitor. Buy products at the best factory prices on our website ✨

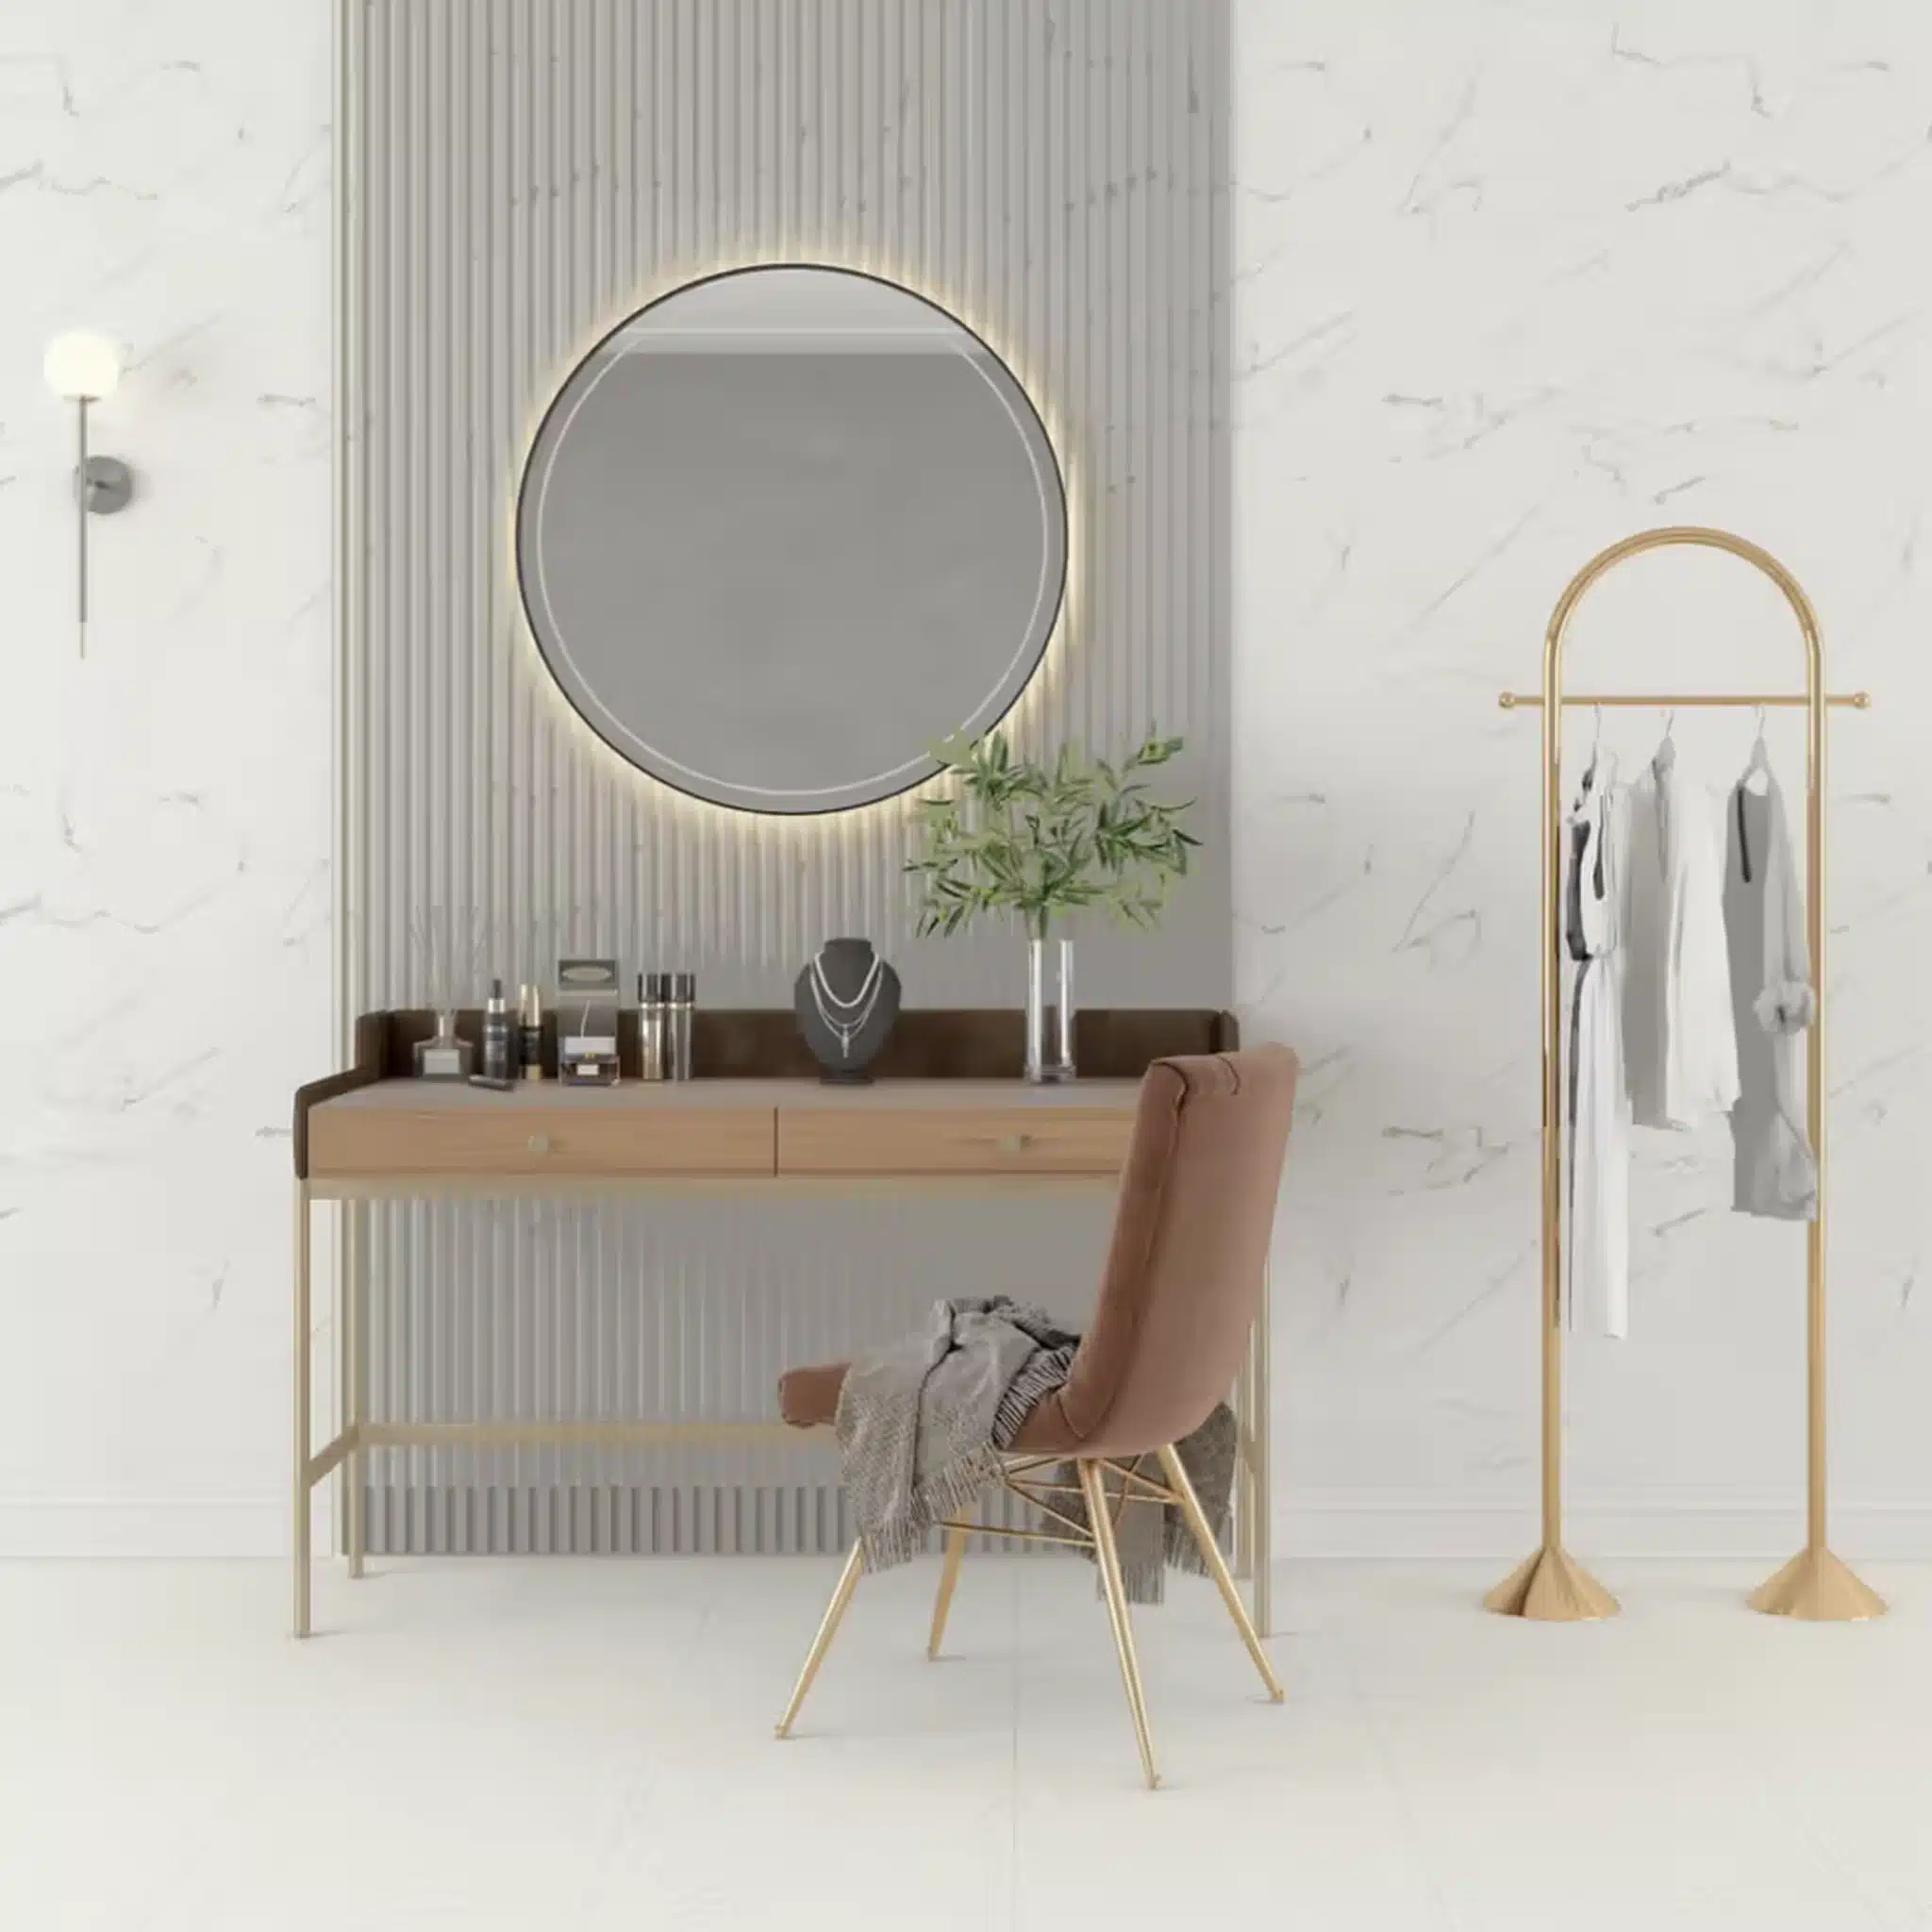
Järnvik 3D wall panels offer a completely new and cost-effective way to create impressive wall solutions. With 3D wall panels, you can achieve the stylish look of popular slat walls with little effort and lower costs, without painting or spending hours on installation work.
Price per piece
Box contains 10 pieces , sold by box
 Step 1
Select a product.
Step 1
Select a product.
 Step 2
Add to quote.
Step 2
Add to quote.
 Step 3
Fill the form.
Step 3
Fill the form.
 Step 4
Send a request.
Step 4
Send a request.
 Step 5
Answer within 24 hours.
Step 5
Answer within 24 hours.
Product code: JVWP-2551-RUMU
EAN: 6430049657745
Järnvik 3D wall panels offer a completely new and cost-effective way to create impressive wall solutions. With 3D wall panels, you can achieve the stylish look of popular slat walls with little effort and lower costs, without painting or spending hours on installation work.
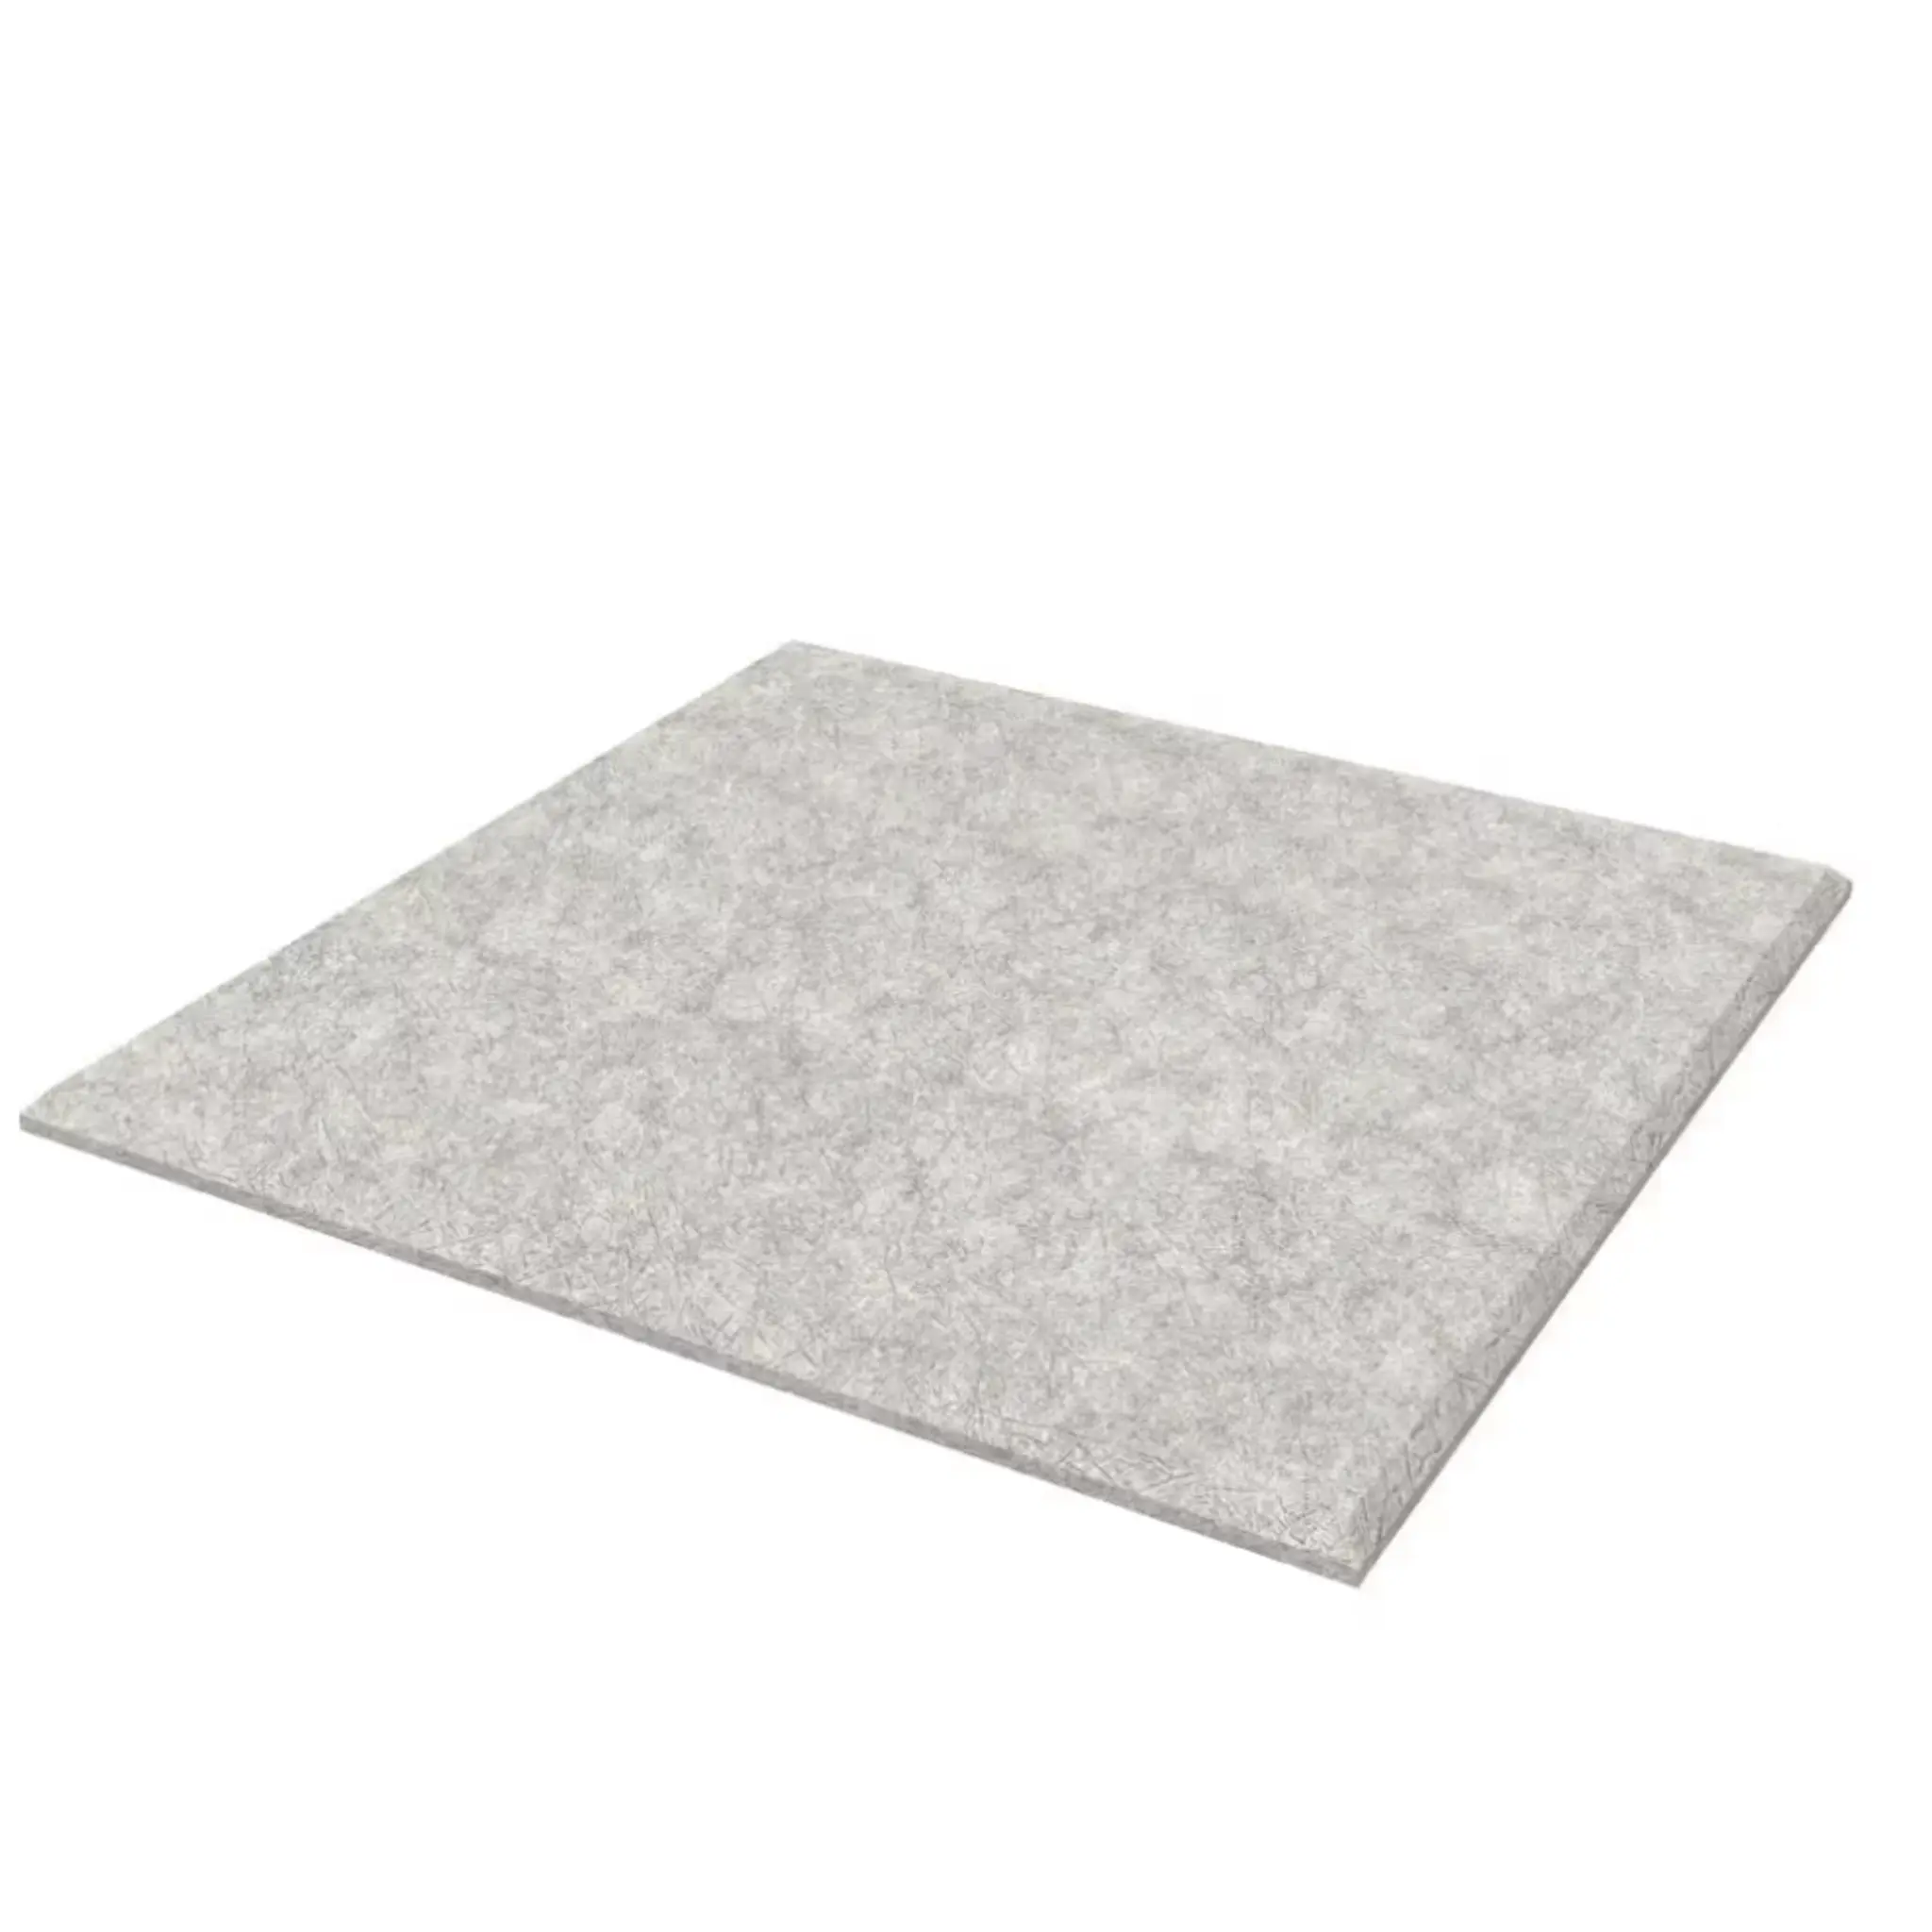
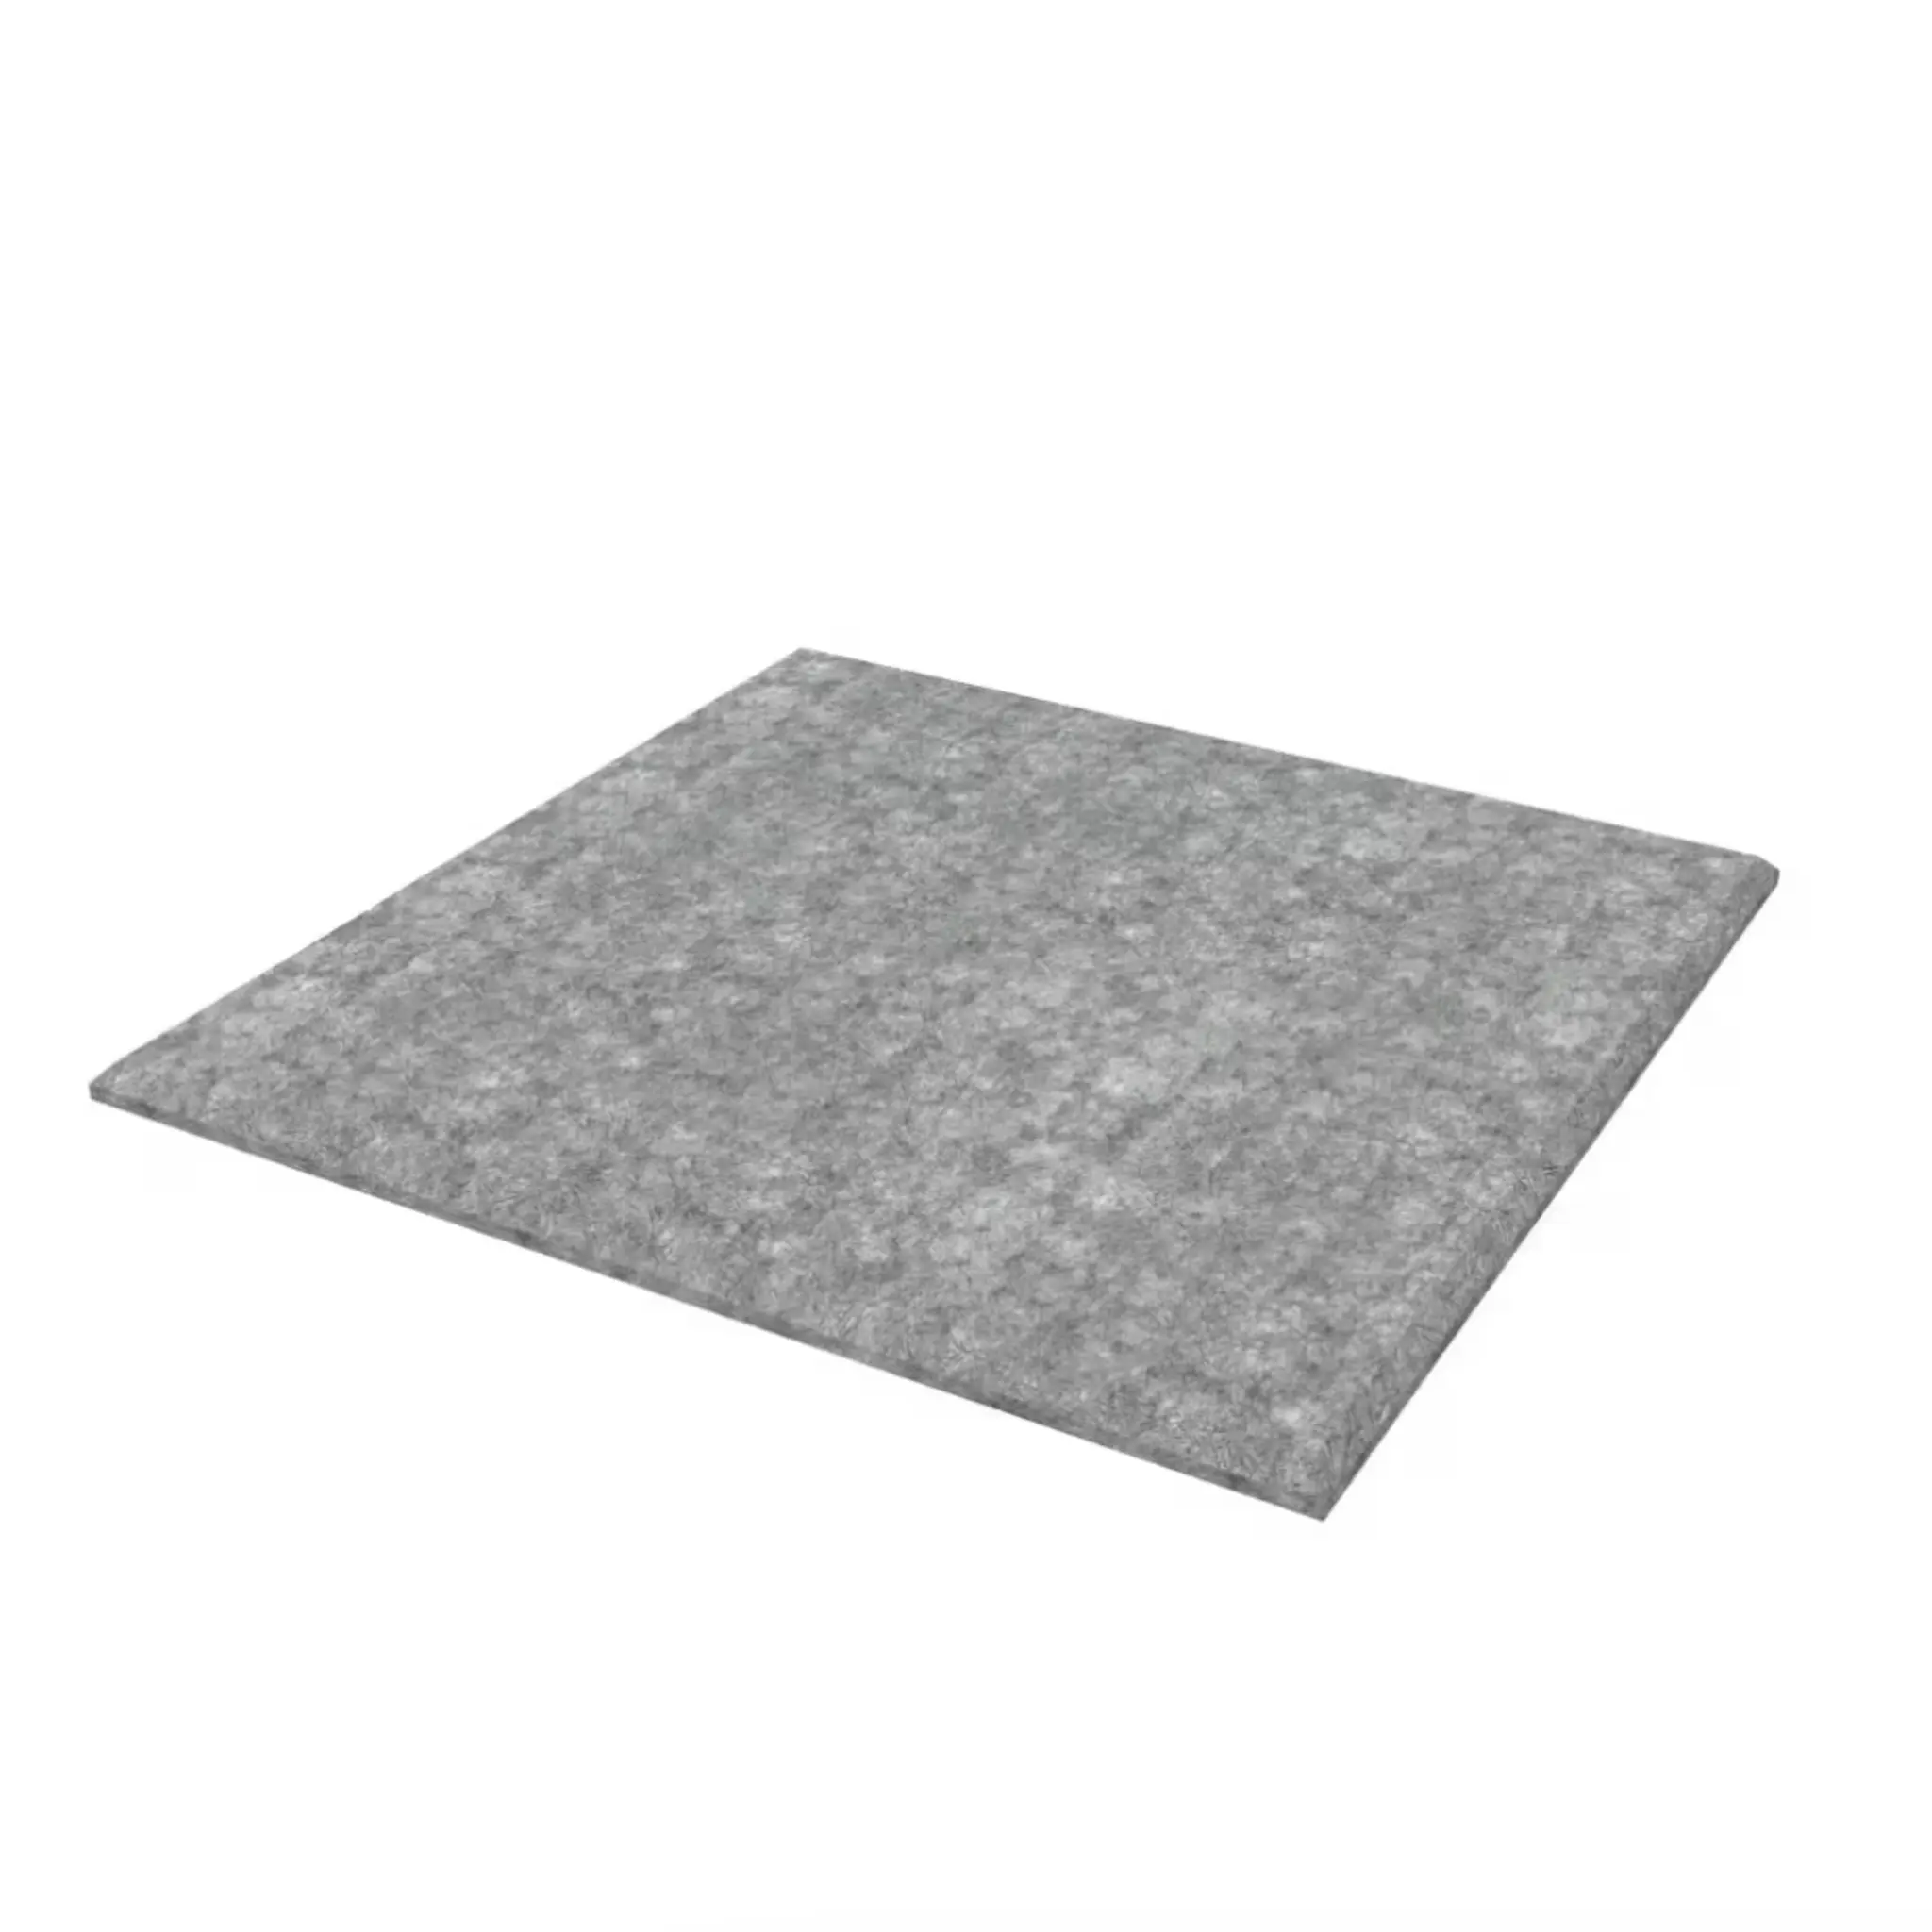
3D wall panels can be used as part of a wall, for full wall surfaces, or even on ceilings. The panels also add a visual sense of space to interiors. The products are fully water-resistant, contain no harmful substances or heavy metals, are recyclable, and are very easy to install. The panels are highly wear-resistant and easy to keep clean.
The panels feature a stylish 3D surface structure that adds life and visual impact to any space. They are a perfect choice for living areas, TV walls, bathrooms, offices, reception areas, and many other interiors.
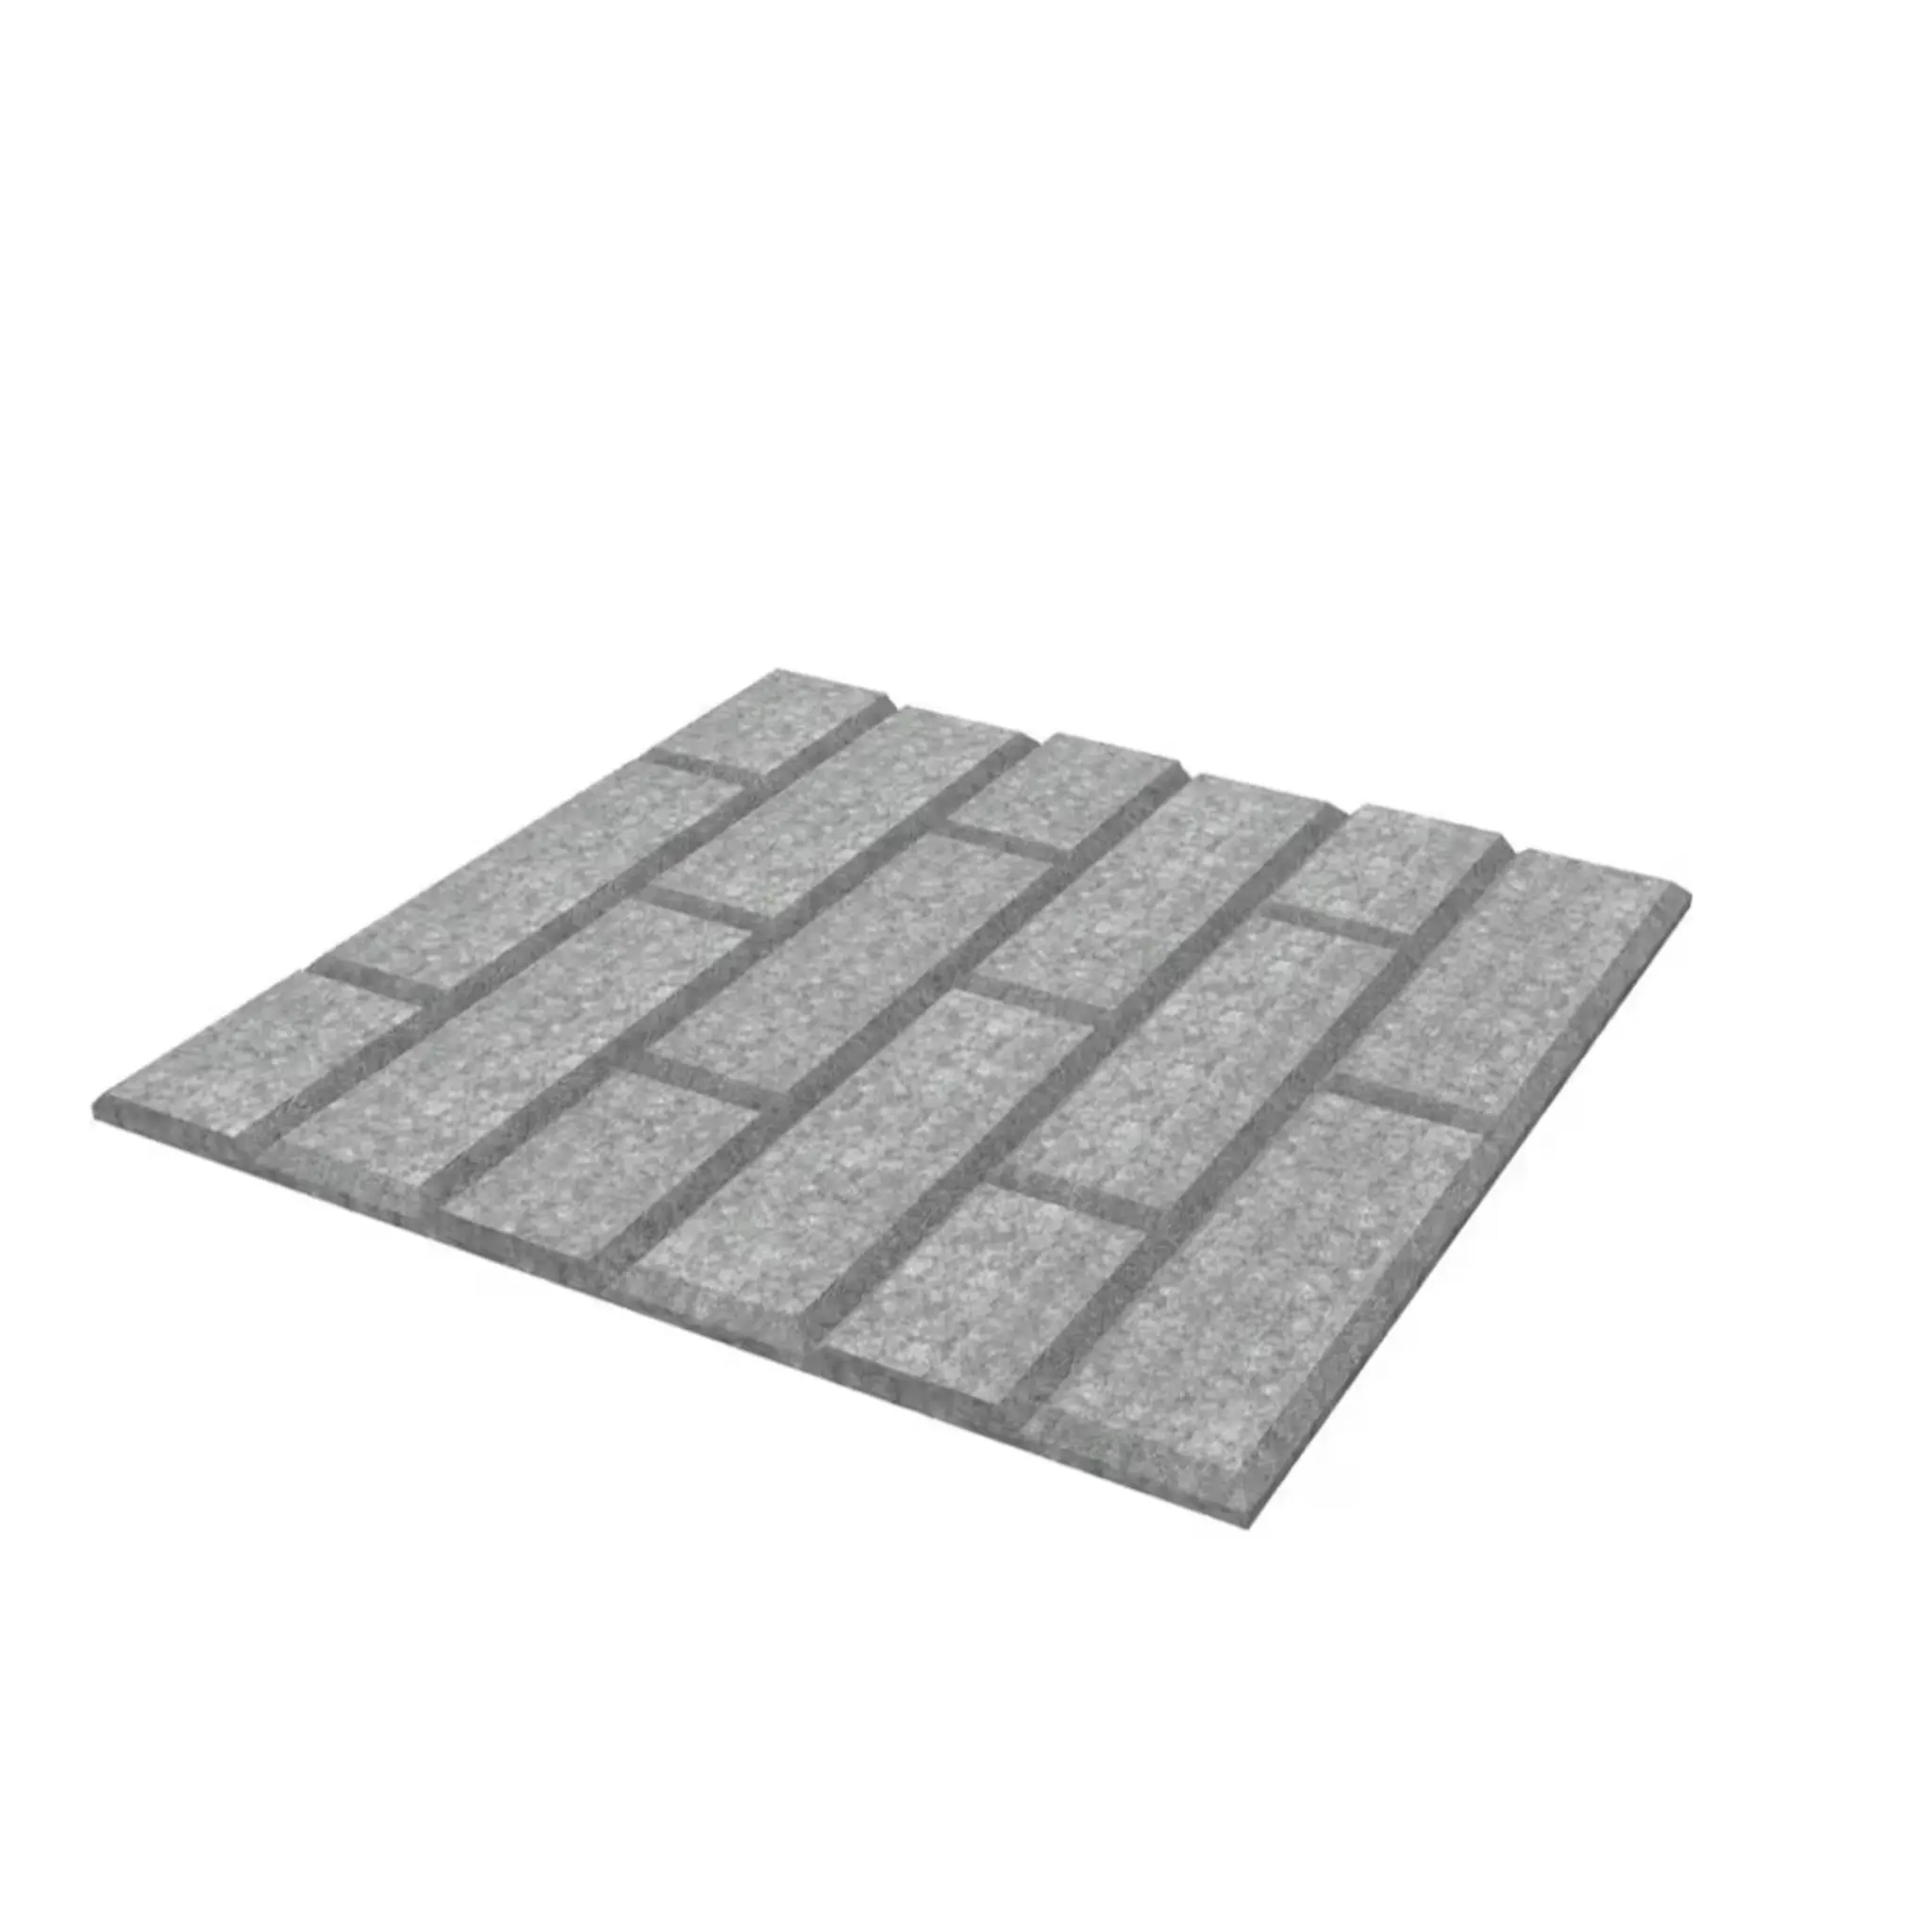
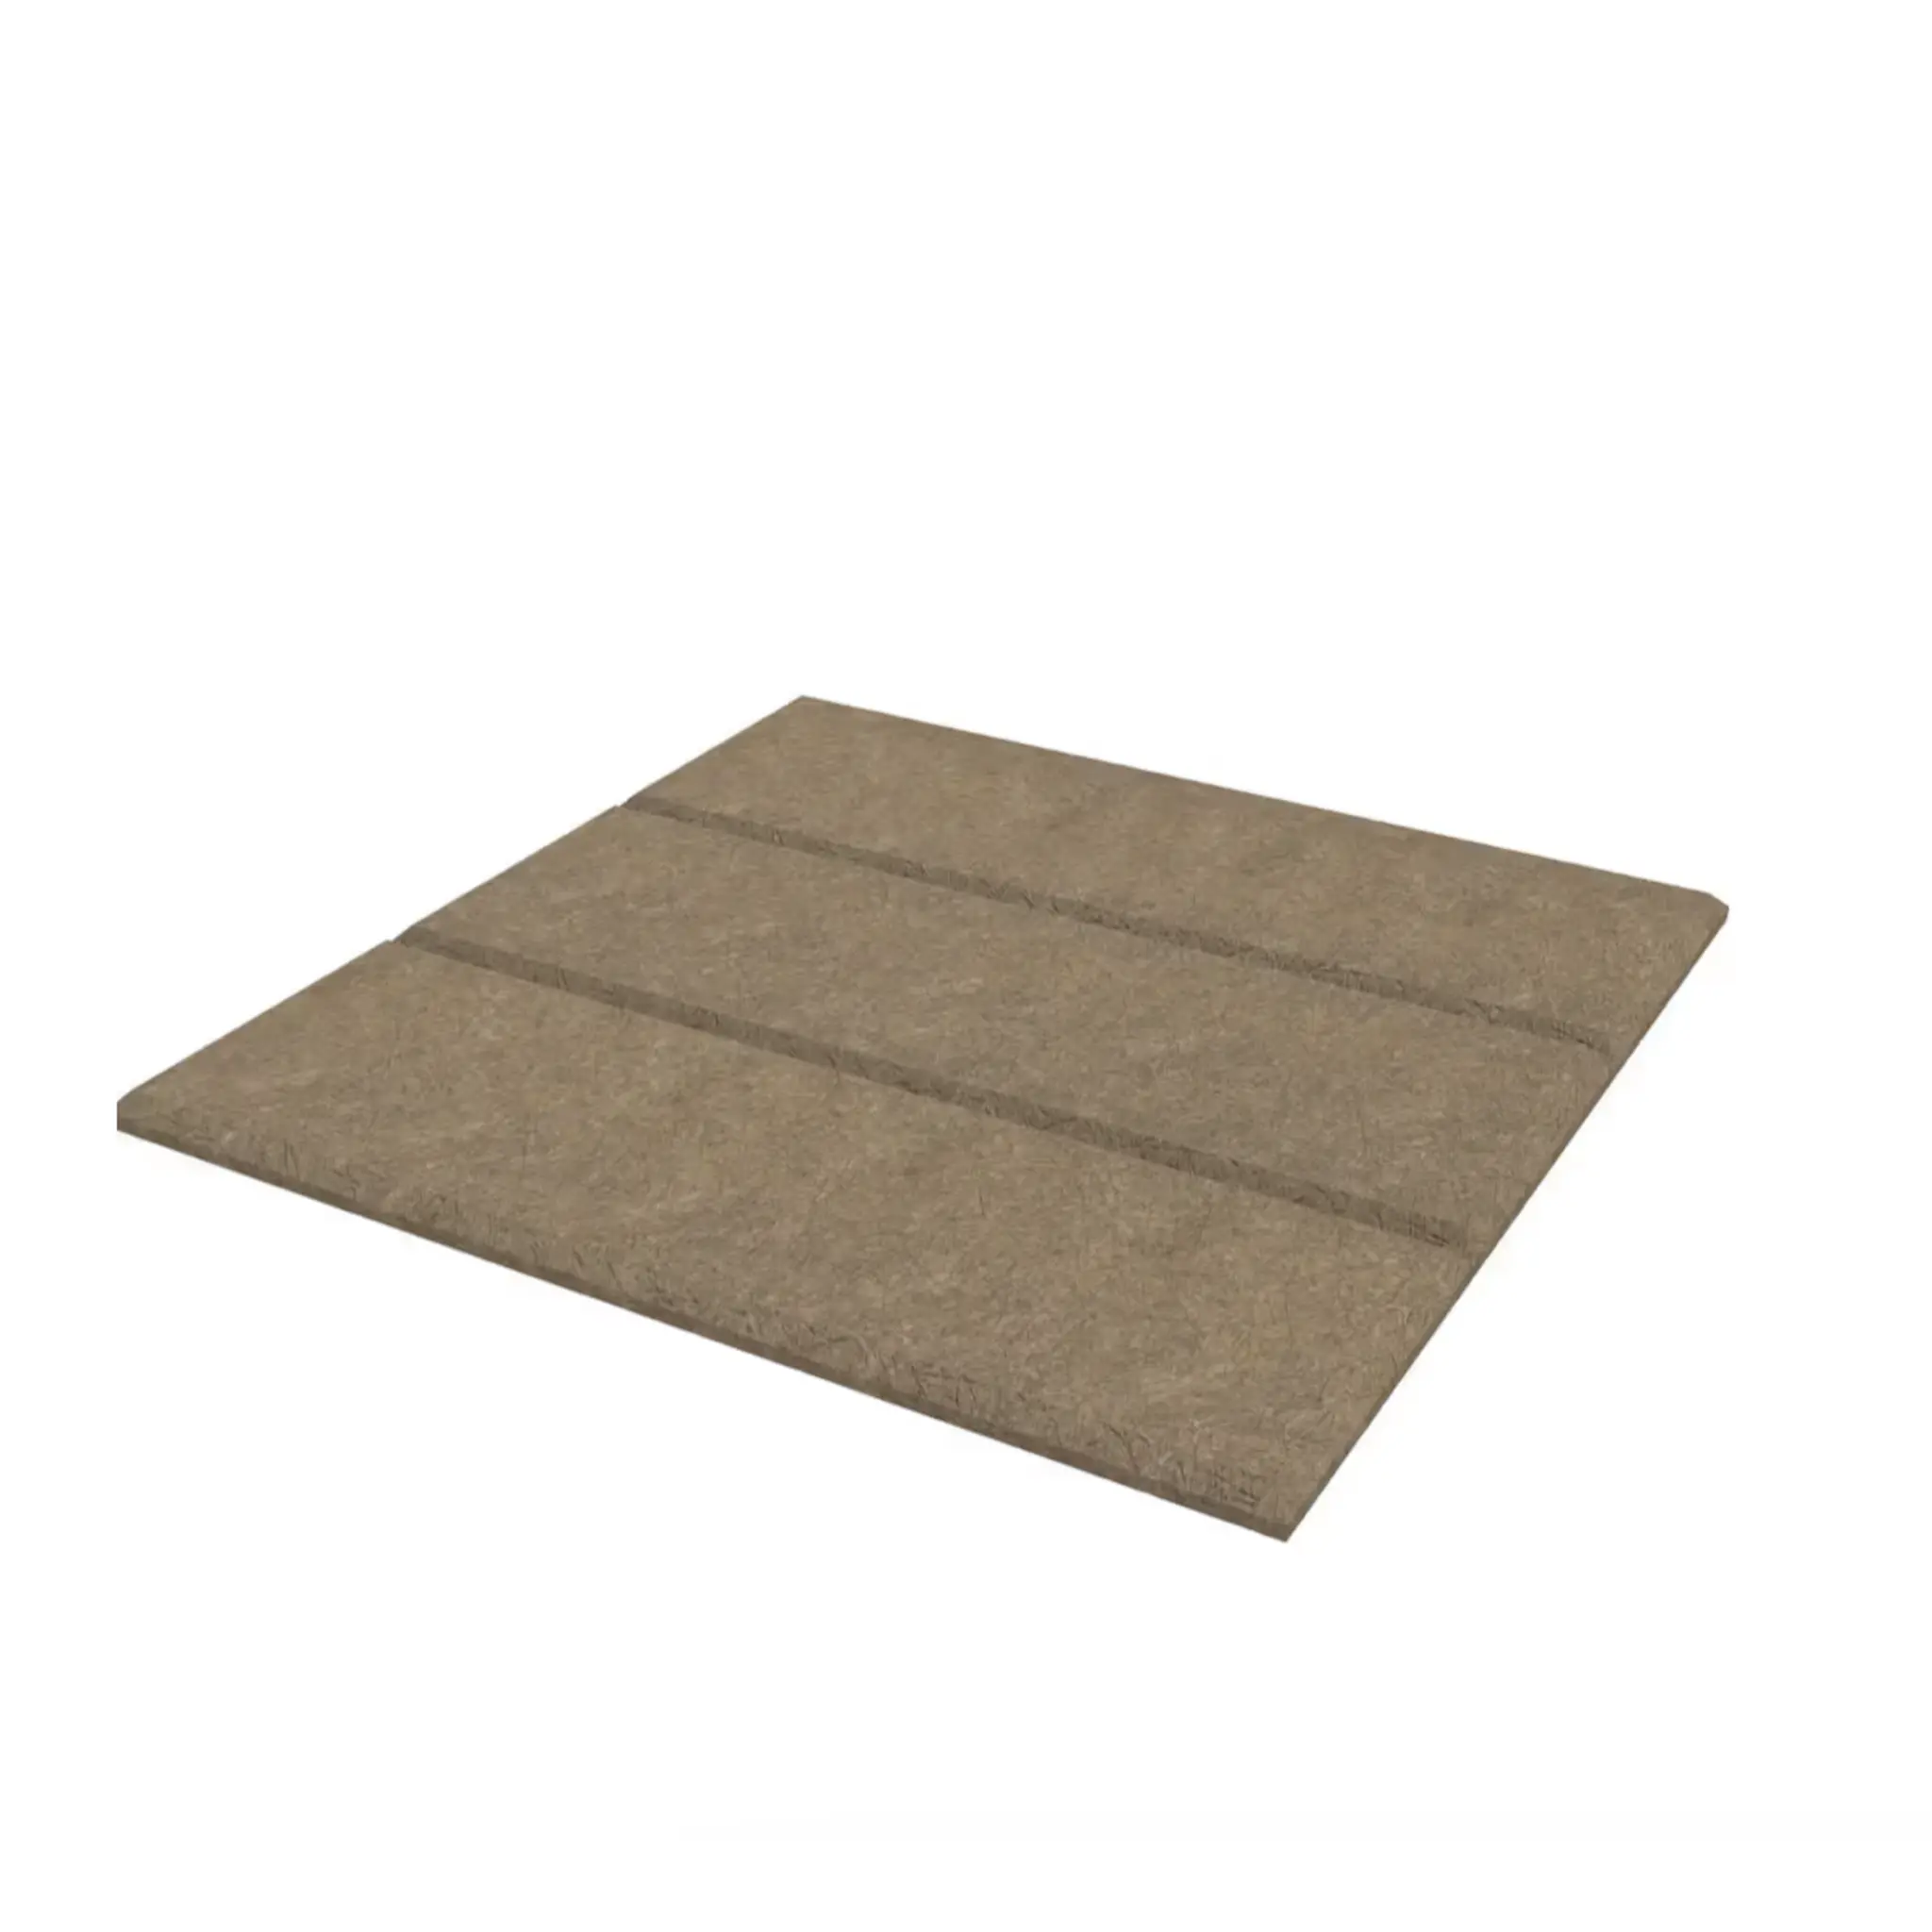
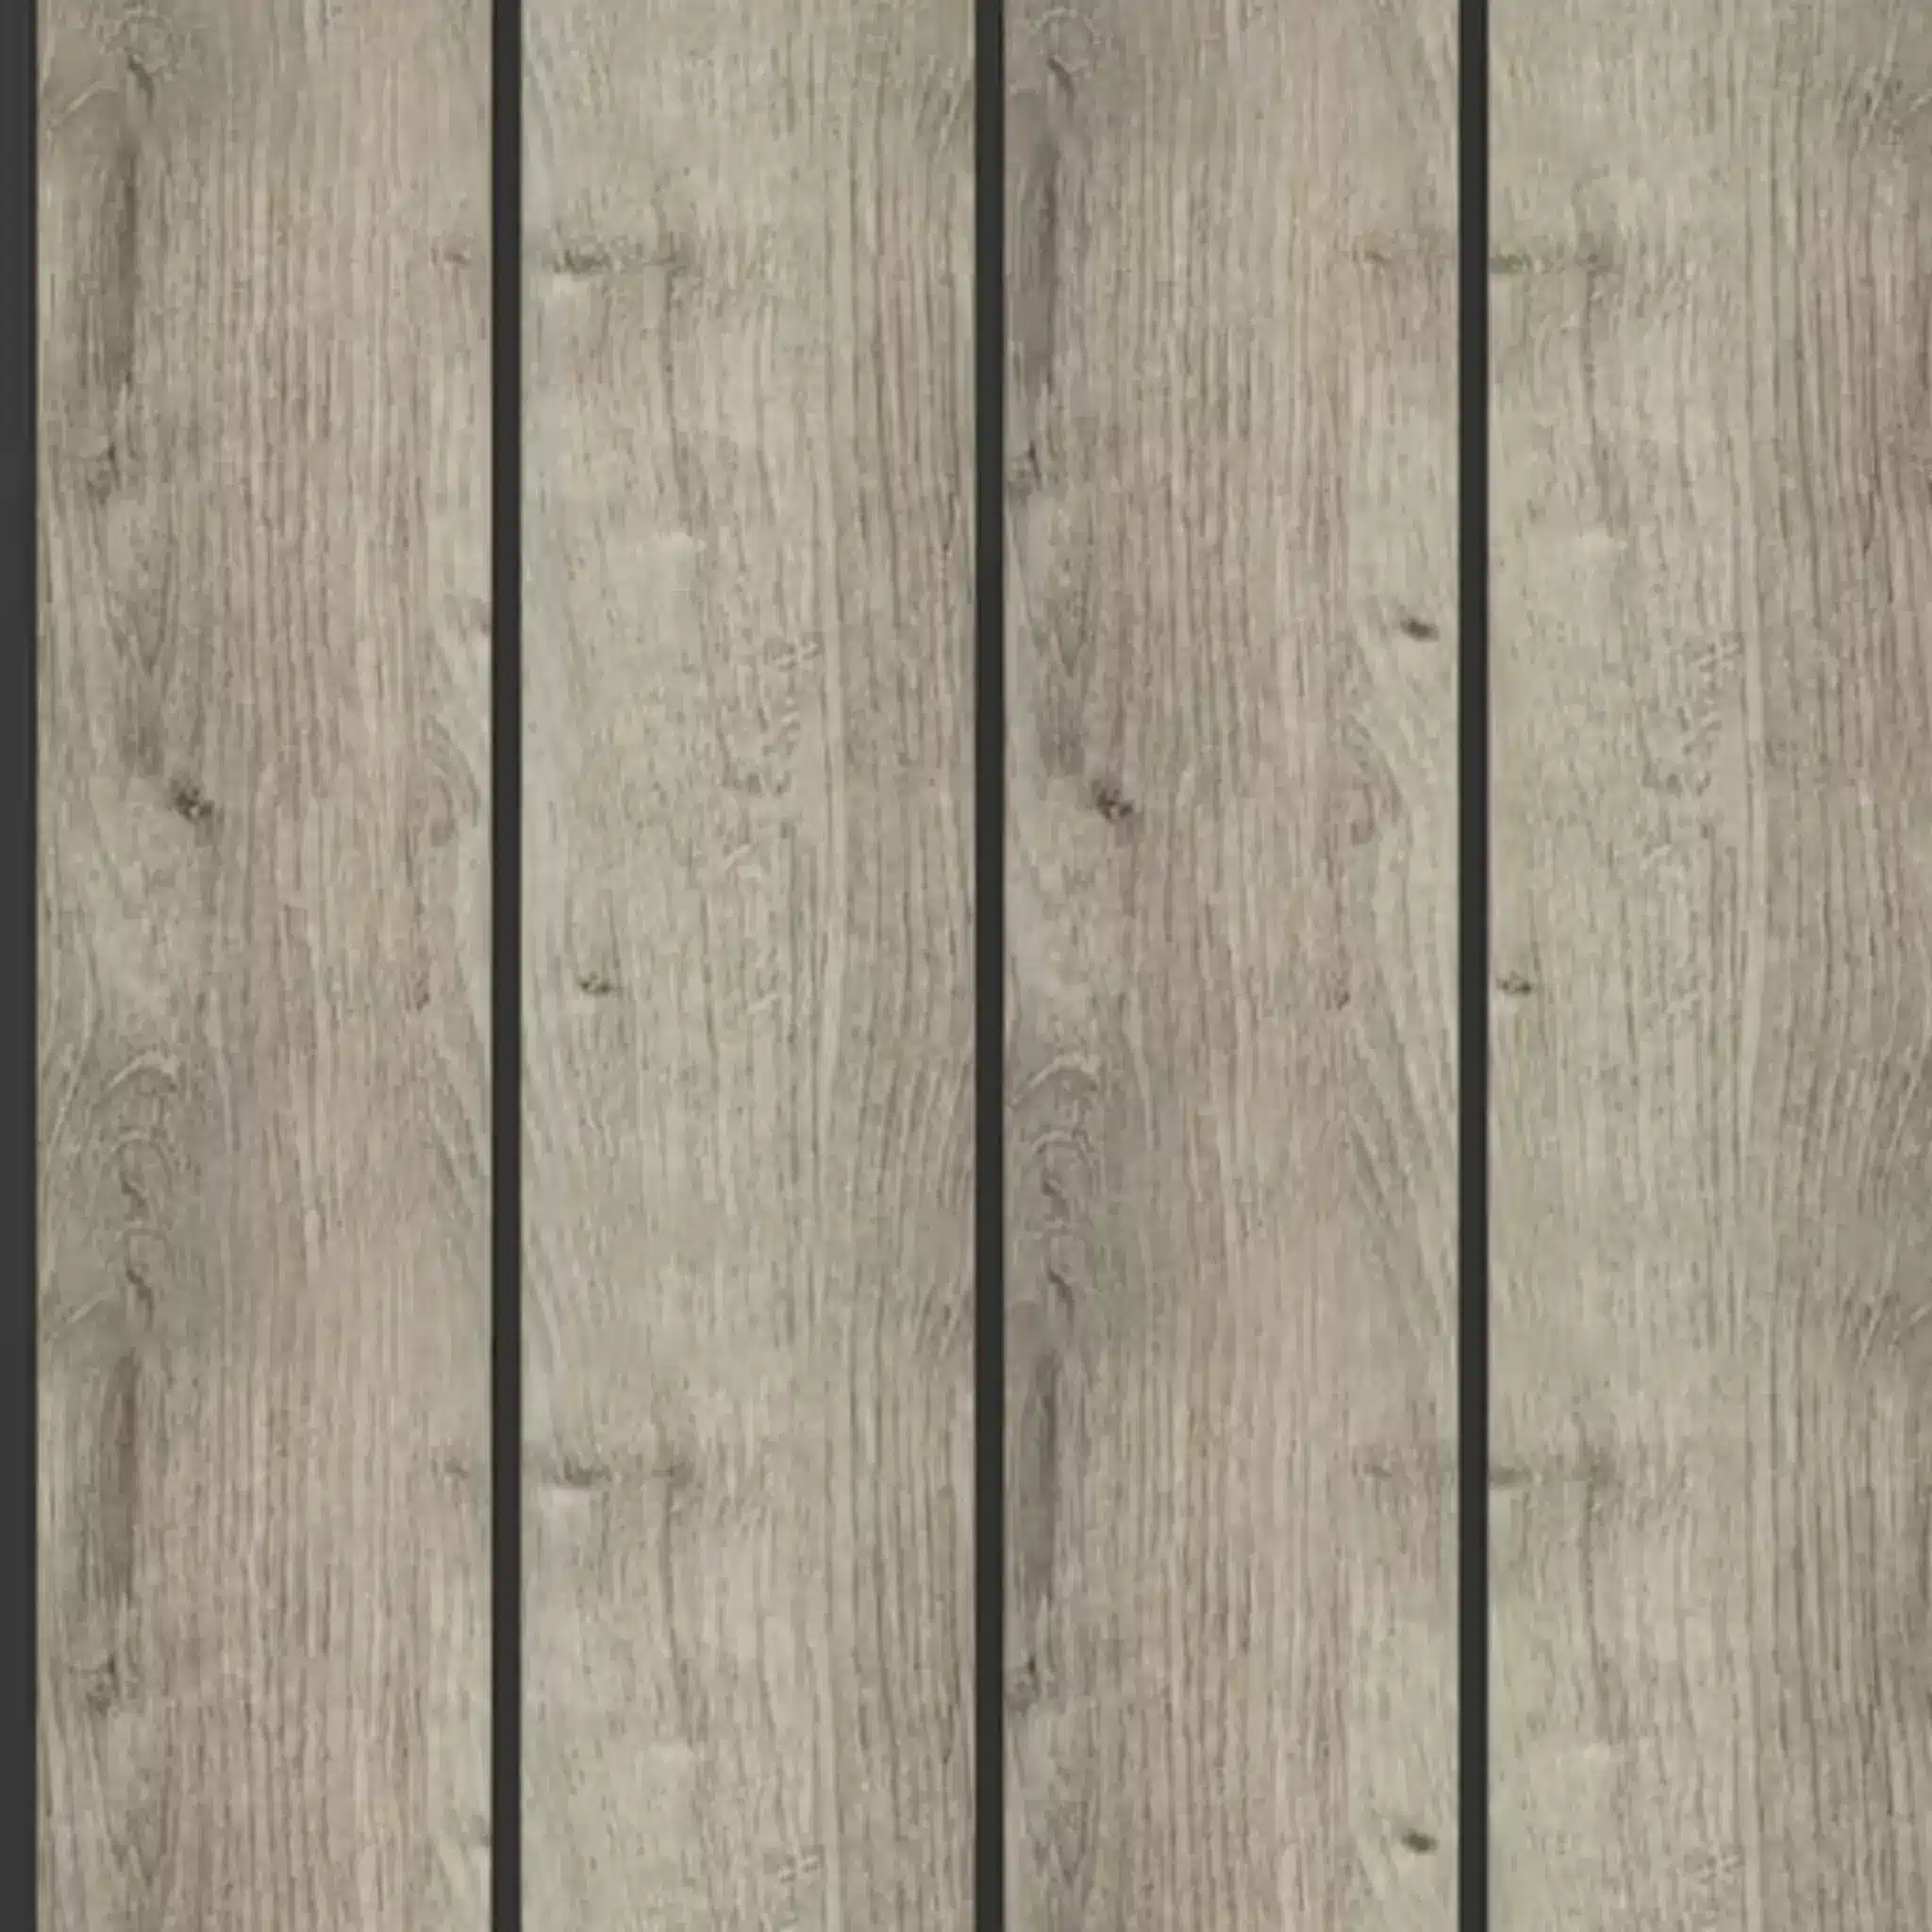
This stylish tongue-and-groove wall panel has a special low and wide profile with a 3D pattern. The base is black, while the surface has a brown oak-like wood pattern. The panel can be installed vertically or horizontally. The extra-wide 315 mm format makes installation even easier, as a larger finished surface is covered at once.
Easy and quick to install. For a neater final result, separate end pieces are recommended for panel installation.
Panel dimensions: 315 × 7 × 2600 mm.
Technical specifications:
| Product information | SKU | JVWP-2551-RUMU |
| N/A | N/A | |
| Size | 7 × 315 × 2600 mm | |
| Colour | Brown/black | |
| Sales unit | Piece | |
| Material | Material | Polystyrene |
| Installation | Installation method | Nailing and/or gluing |
| Tongue/groove | On the long side | |
| Expansion gap, mm | Not required | |
| Suitable for wet rooms | Yes | |
| Can be installed on ceiling | Yes | |
| Cable groove | No | |
| Suitable for sauna | No | |
| Appearance | Type | Straight, decorative groove |
| Surface gloss | Matt | |
| Style | Knotless, subtle |
For a neater finish, it is recommended to use separate end pieces during panel installation (additionally):
End piece 1 Järnvik Dimensio Nemus 73 x 7 x 2600 mm (JVWP-2551-RUMU-CMU; EAN: 6430049657752) 10,40 .-
End piece 2 Järnvik Dimensio Nemus 84 x 7 x 2600 mm (JVWP-2551-RUMU-CMN ; EAN: 6430049657769) 10,40 .-
3D Wall Panel Installation
For installation on a concrete wall, it is recommended to use Wurth Power Tack or Casco XtremeFix installation adhesive or equivalent. When installing on a wooden or sheet surface where nailing is possible, it is recommended to use Wurth Installation Adhesive Pro 140 or equivalent.
The wall panel can also be glued to a separate backing board, which can then be installed as a whole on the wall, for example, by screwing it in place.
Panel joints are not recommended, but the panel can be installed with a butt joint. Try to place the joint in the least noticeable location.
NOTE: Always plan the installation carefully in advance by calculating the panel progression and taking any corners into account. If the panels are not installed from corner to corner, always factor in the impact of the end pieces on the progression to achieve the desired result and ensure the panels are positioned as planned.
PLATFORM CHARGES AND SMALL DELIVERY SURCHARGE:
EUR PALLET 15 €, FIN PALLET 18.6 €, SINGLE-USE PALLET 9 €, Small delivery supplement (<100 € for purchases) 13.2 €
There are no reviews yet.
No manuals available for this product.
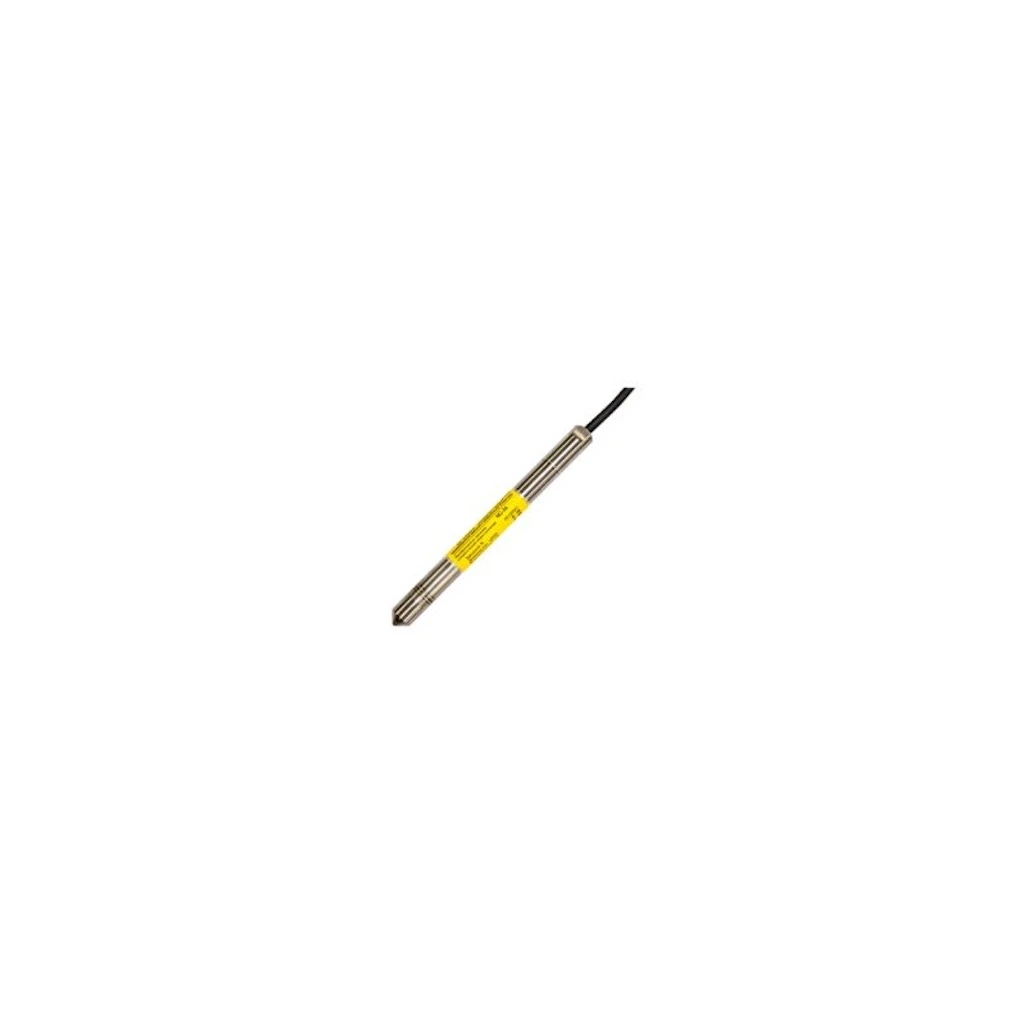
SGE-16 Hydrostatic level probe, 0…50M, 4-20MA, 88M cable
SGE-16 Hydrostatic level probe, 0&#...

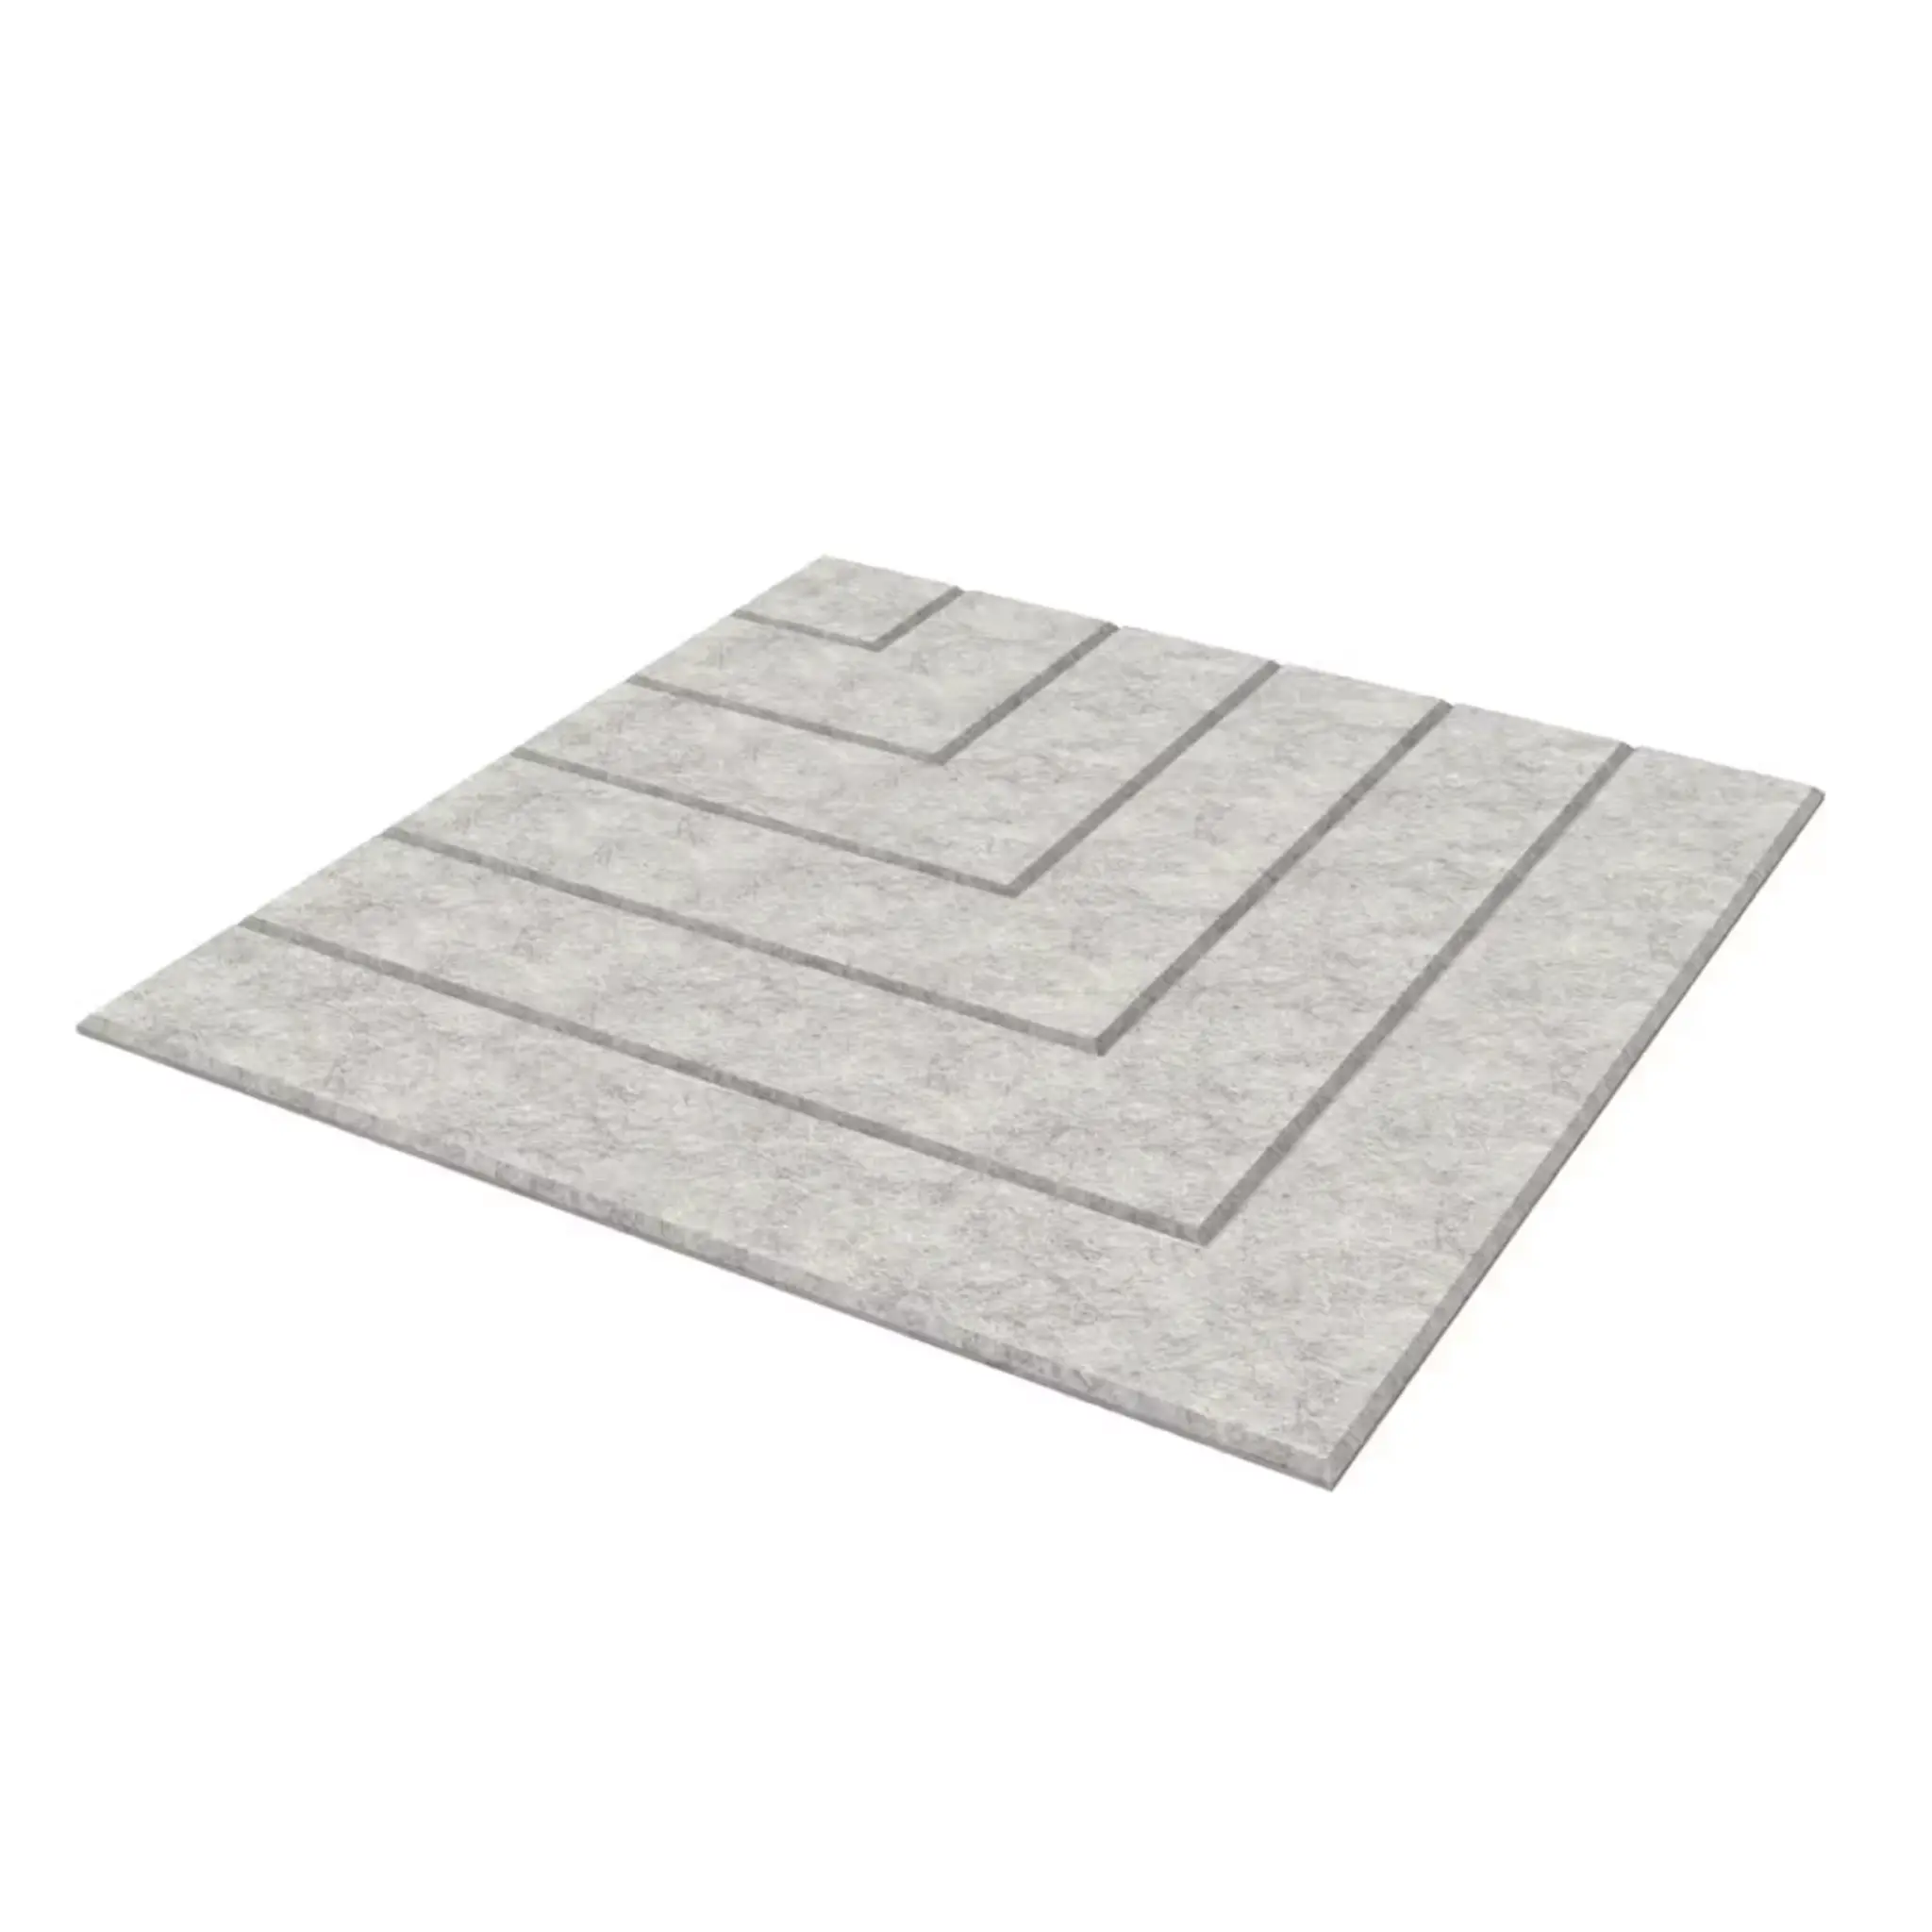
Canopy STARKEDACH T-160, light gray, 160x100x30cm
Canopy STARKEDACH T-160, light gray...
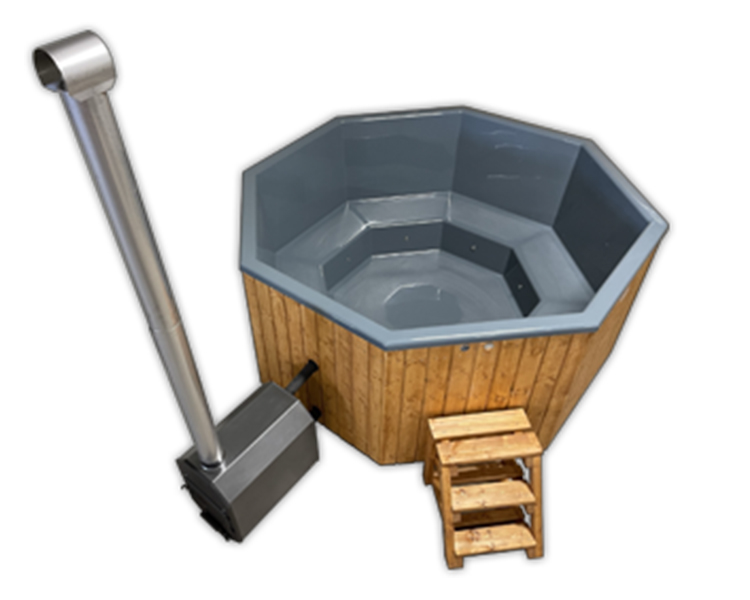
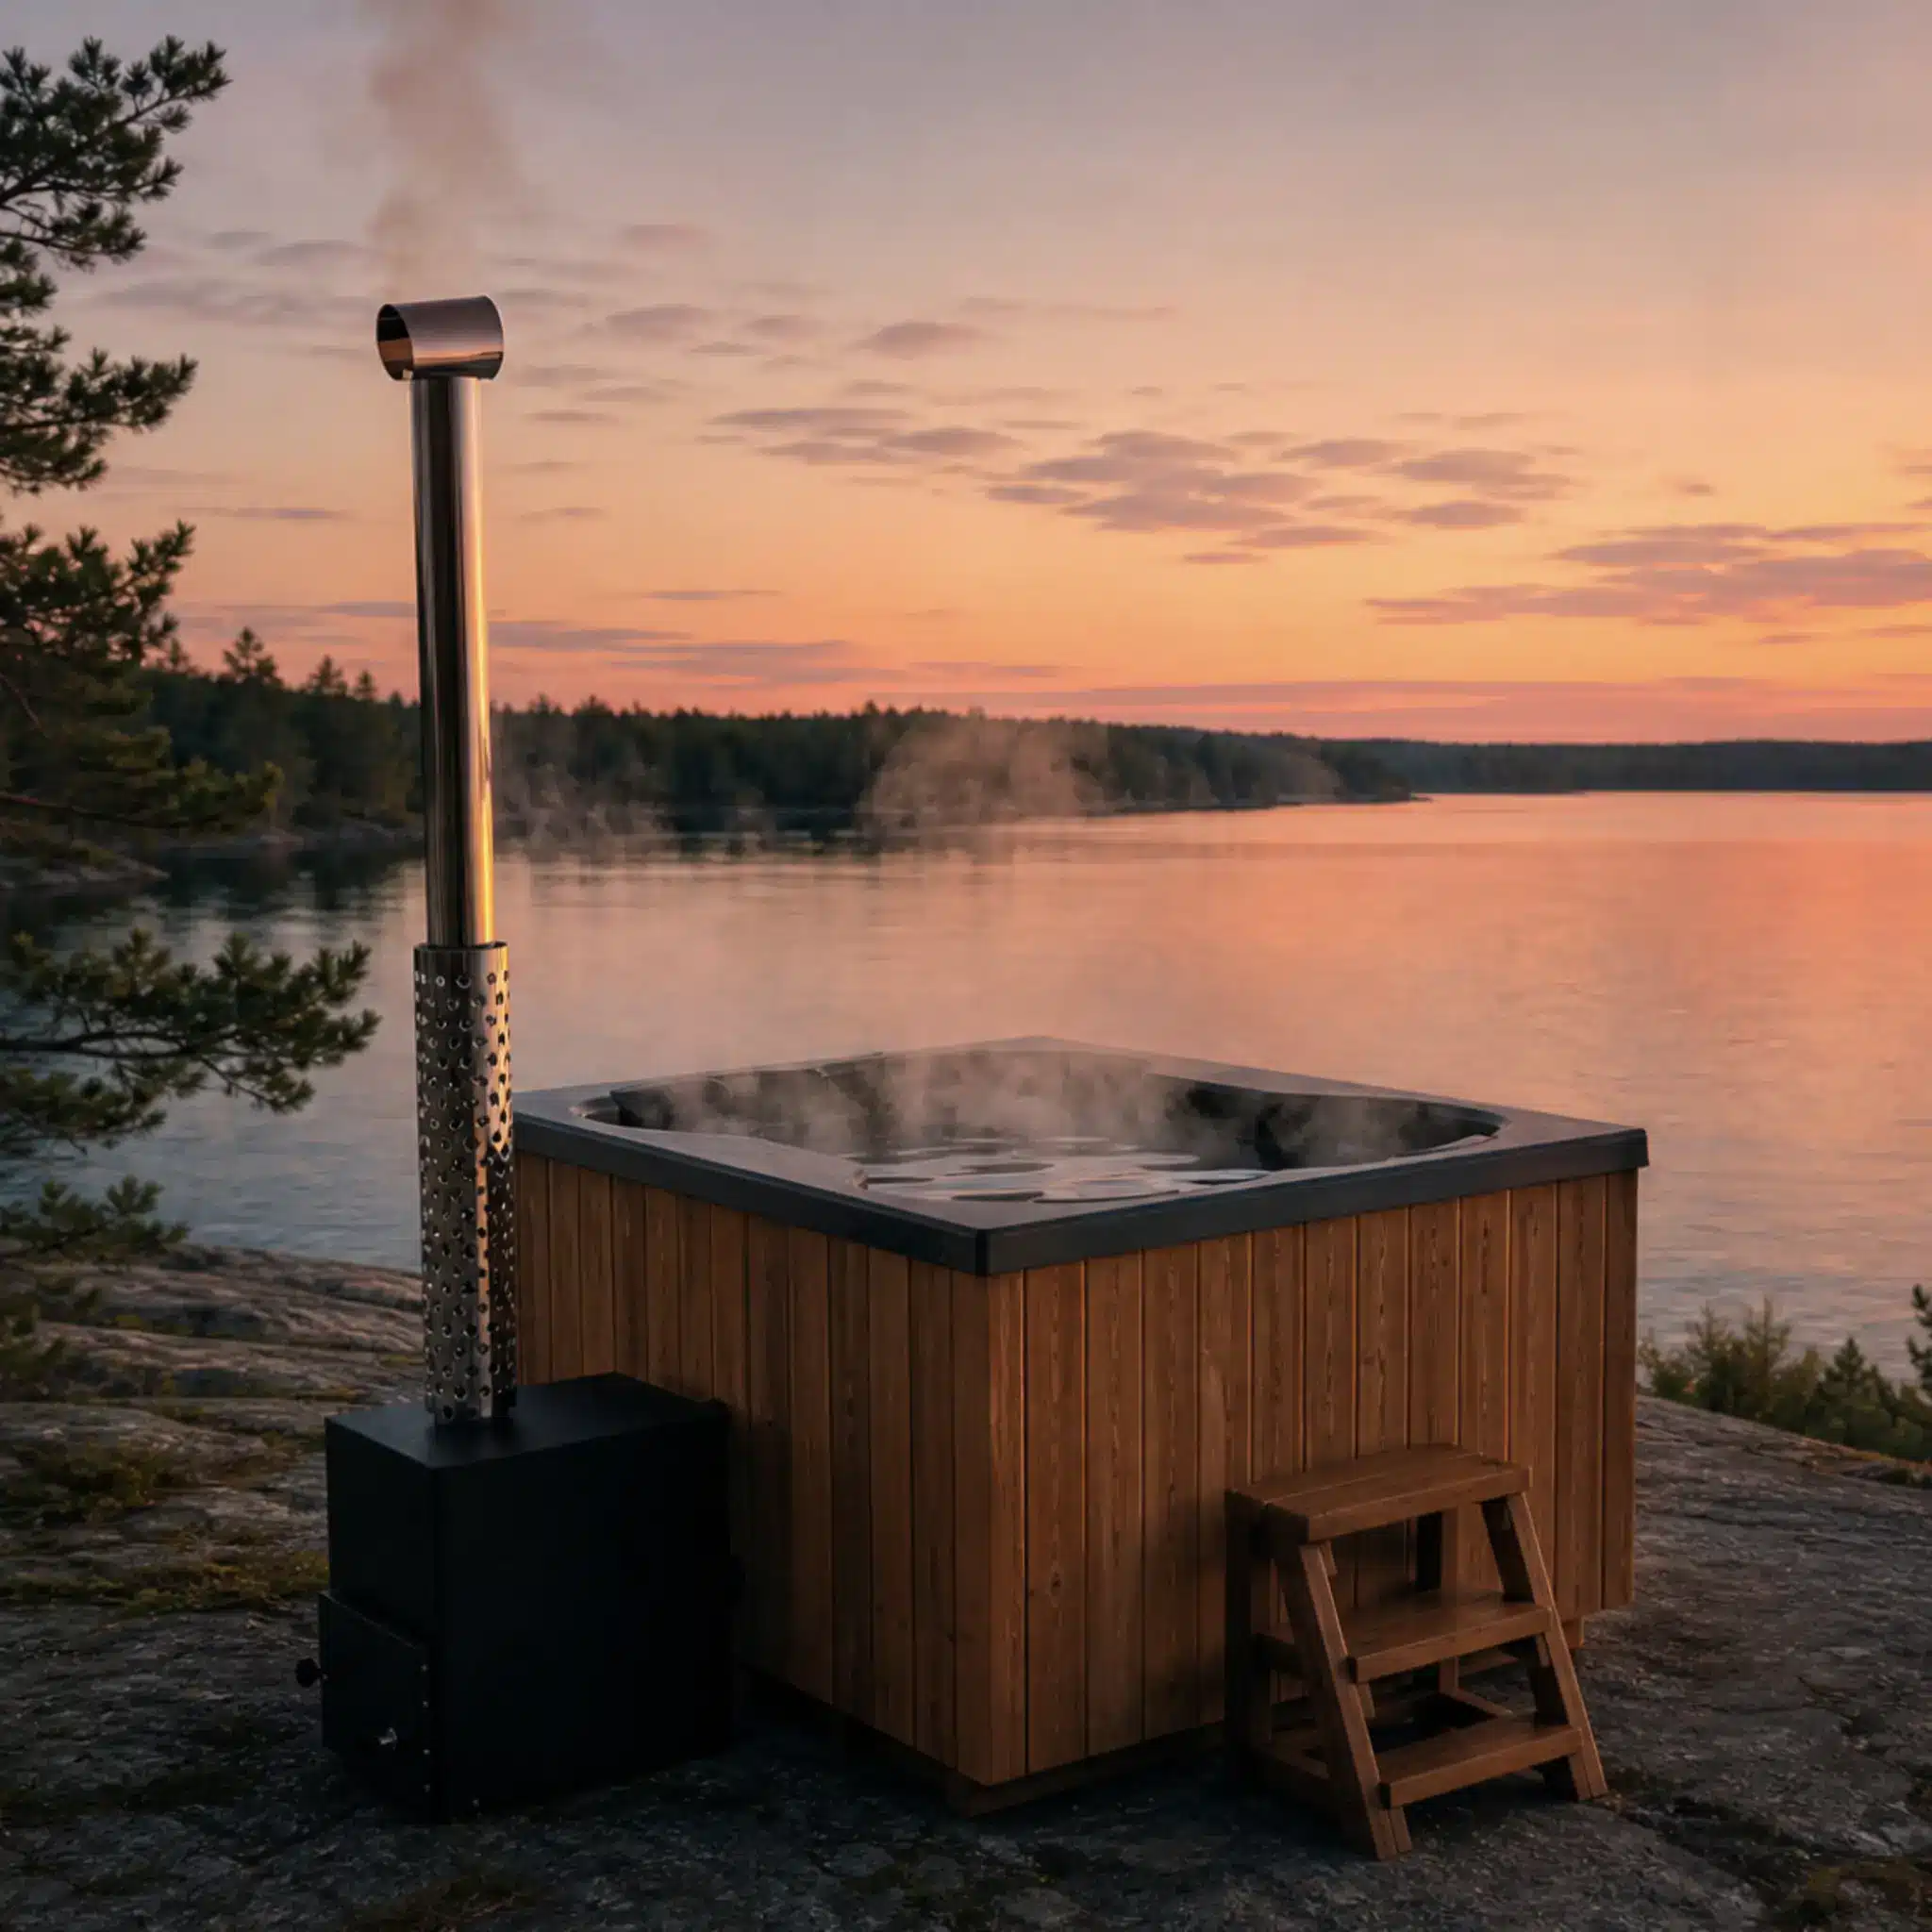
2.4×2.4 m 8-cornered hot tub with fiberglass interior, exter...
2.4×2.4 m 8-cornered hot tub w...
 Shop All
  Super Deals
  New
New